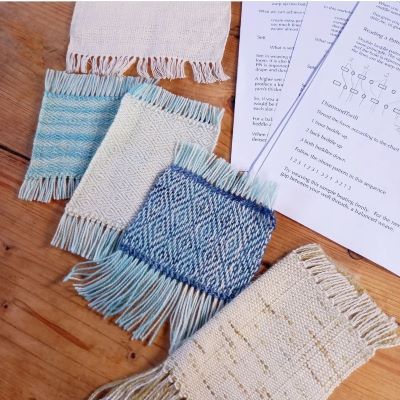
A First Dip into Inkle loom Weaving

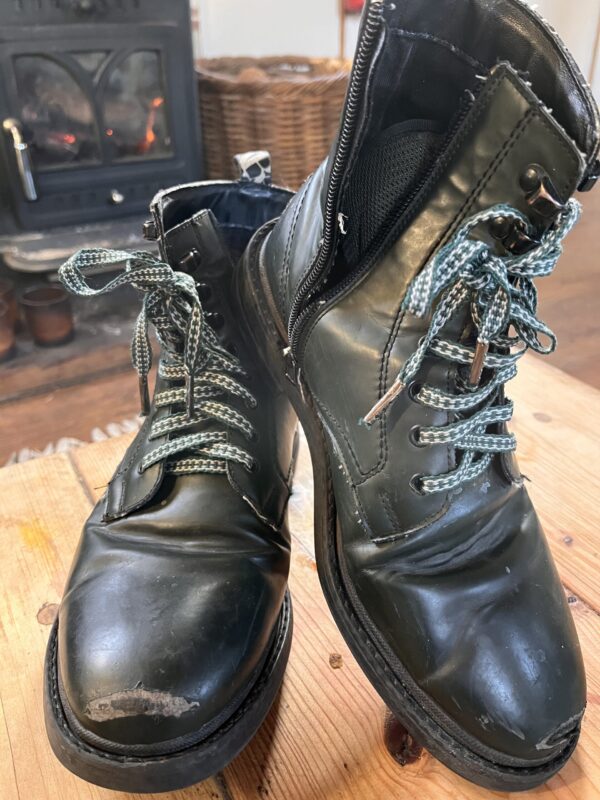
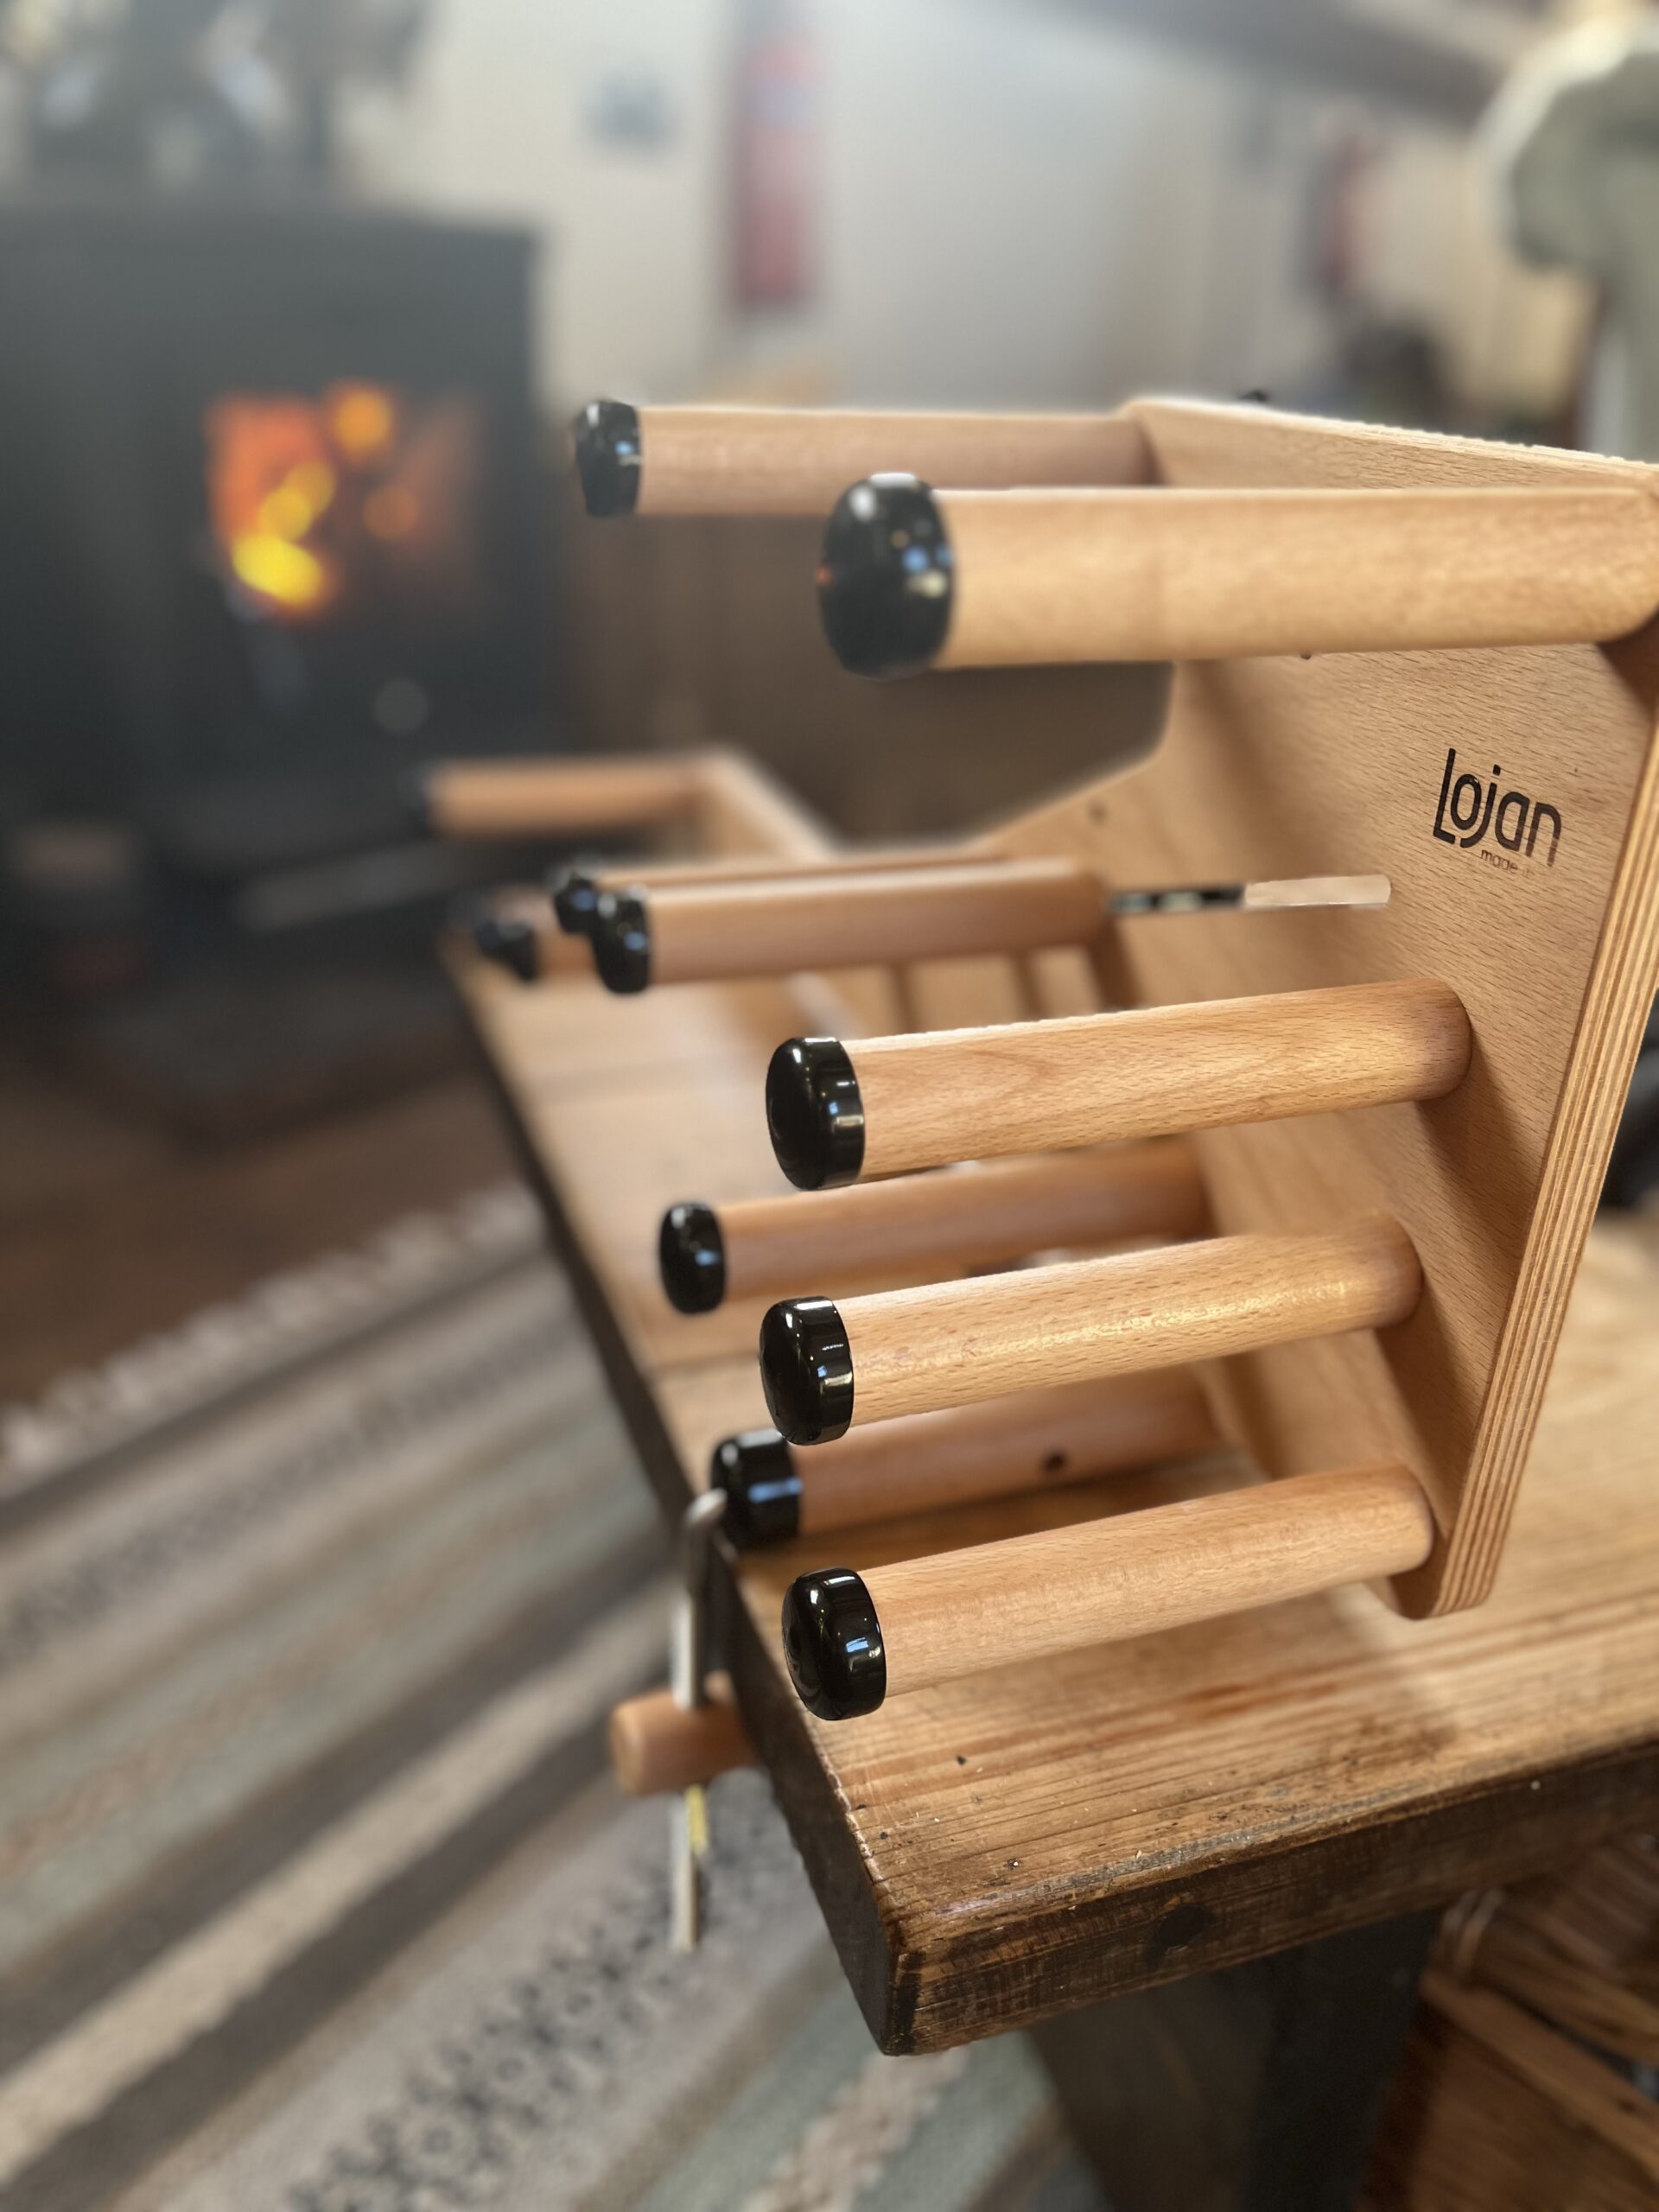
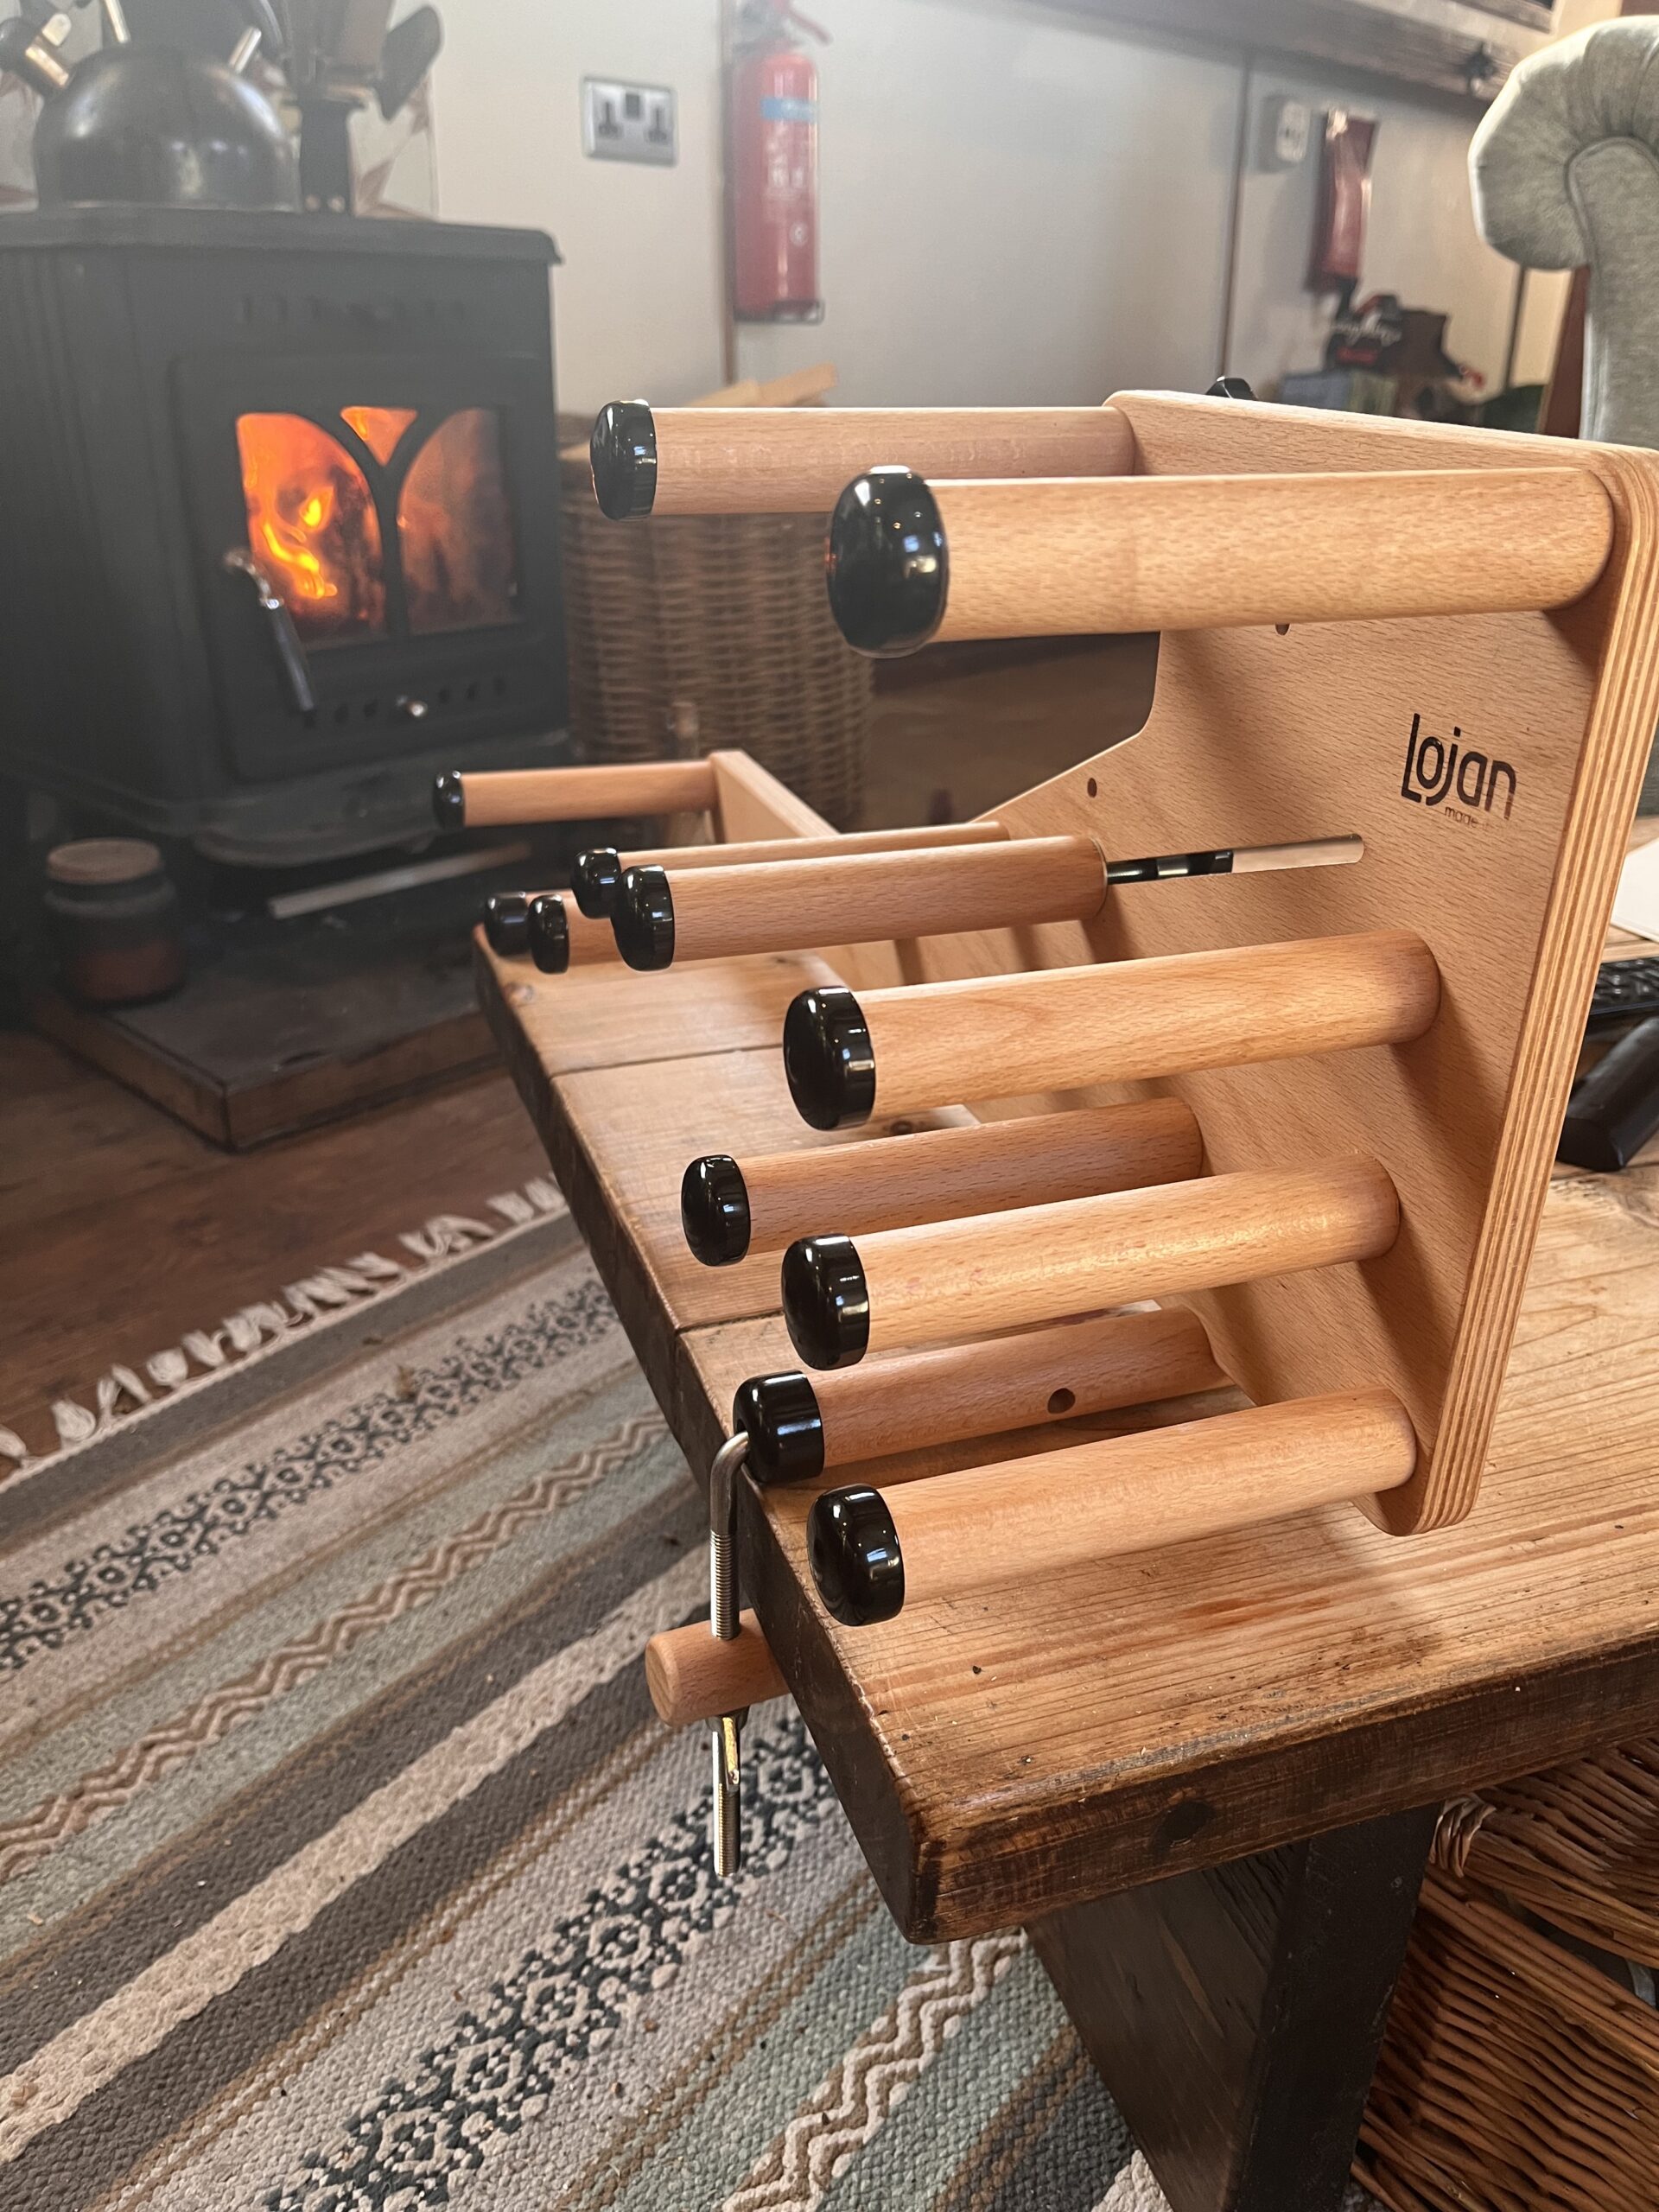
A gorgeous pair of home made woven laces, now the thought of that would tempt me to try a new form of weaving. Pretty much focused on rigid heddle weaving for a very long time it was going to take something special to start me on a new learning curve. Enter the Lojan 3-1 Inkle loom Complete
Img 2054

I'll let you into a secret, I don't really like learning new things. It makes my brain ache and my eyes throb and there's the constant little nagging voice in my head 'you don't have time for this, for these mistakes, for this wasted yarn, go back to what you know'

But laces, they seem like one of those small projects that give a huge amount of satisfaction. You wear them, just knowing you've made them yourself and they look amazing!!
Img 1993

The Inkle loom itself was completely new to me as is Lojan as a supplier. I have to say that their process for me as a seller was easy and smooth and delivery was quick despite all the customs shenanigans we have to go through now. Ordering will take a week which makes the process easy and waiting not too onerous.

It's a beautiful piece of equipment, solidly built and I chose to oil it with Danish Oil. I'll be putting a video together with how to assemble it asap
Img 1943

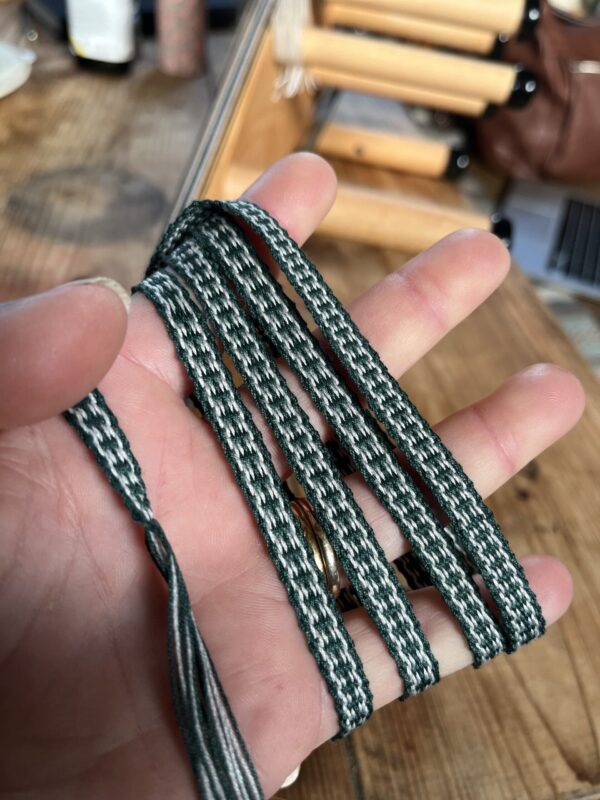
The yarn for my laces was cotton that I'd had in my stash for a while and as I was experimenting I just chose two threads that looked a similar gauge. I wanted to keep things incredibly simple and so I warped up just using two colours with 15 warp threads in this order

2 dark green, 2 grey, 1 dark green, I grey, 3 dark green, 1 grey, 1 dark green, 2 grey, 2 dark green

Img 1965

It hardly took any time and meant that I could get straight on with the weaving.

With coming from a rigid heddle weaving background, I started off with the 40 degree angle to try and keep a nice edge - turns out that in fact with Inkle loom weaving you need a nice tight edge and so the weft is pulled tightly.

Another tip and this seems so silly that I didn't do it in the first place. Measure the length of the laces you want first! I warped up the whole length of the loom and then had to find a pair of boots that the laces fit but I was so excited to start weaving I didn't really pay any attention to mundane facts like length of lace. Lesson learnt

Anyway, I absolutely love this loom and am keen to get onto my next project, which, to be honest will probably be another set of laces. They just make me happy.
Img 1942

For more information on this loom or to order, click here
Lazykate Spinner's Retreat

October 10th - 12th 2025

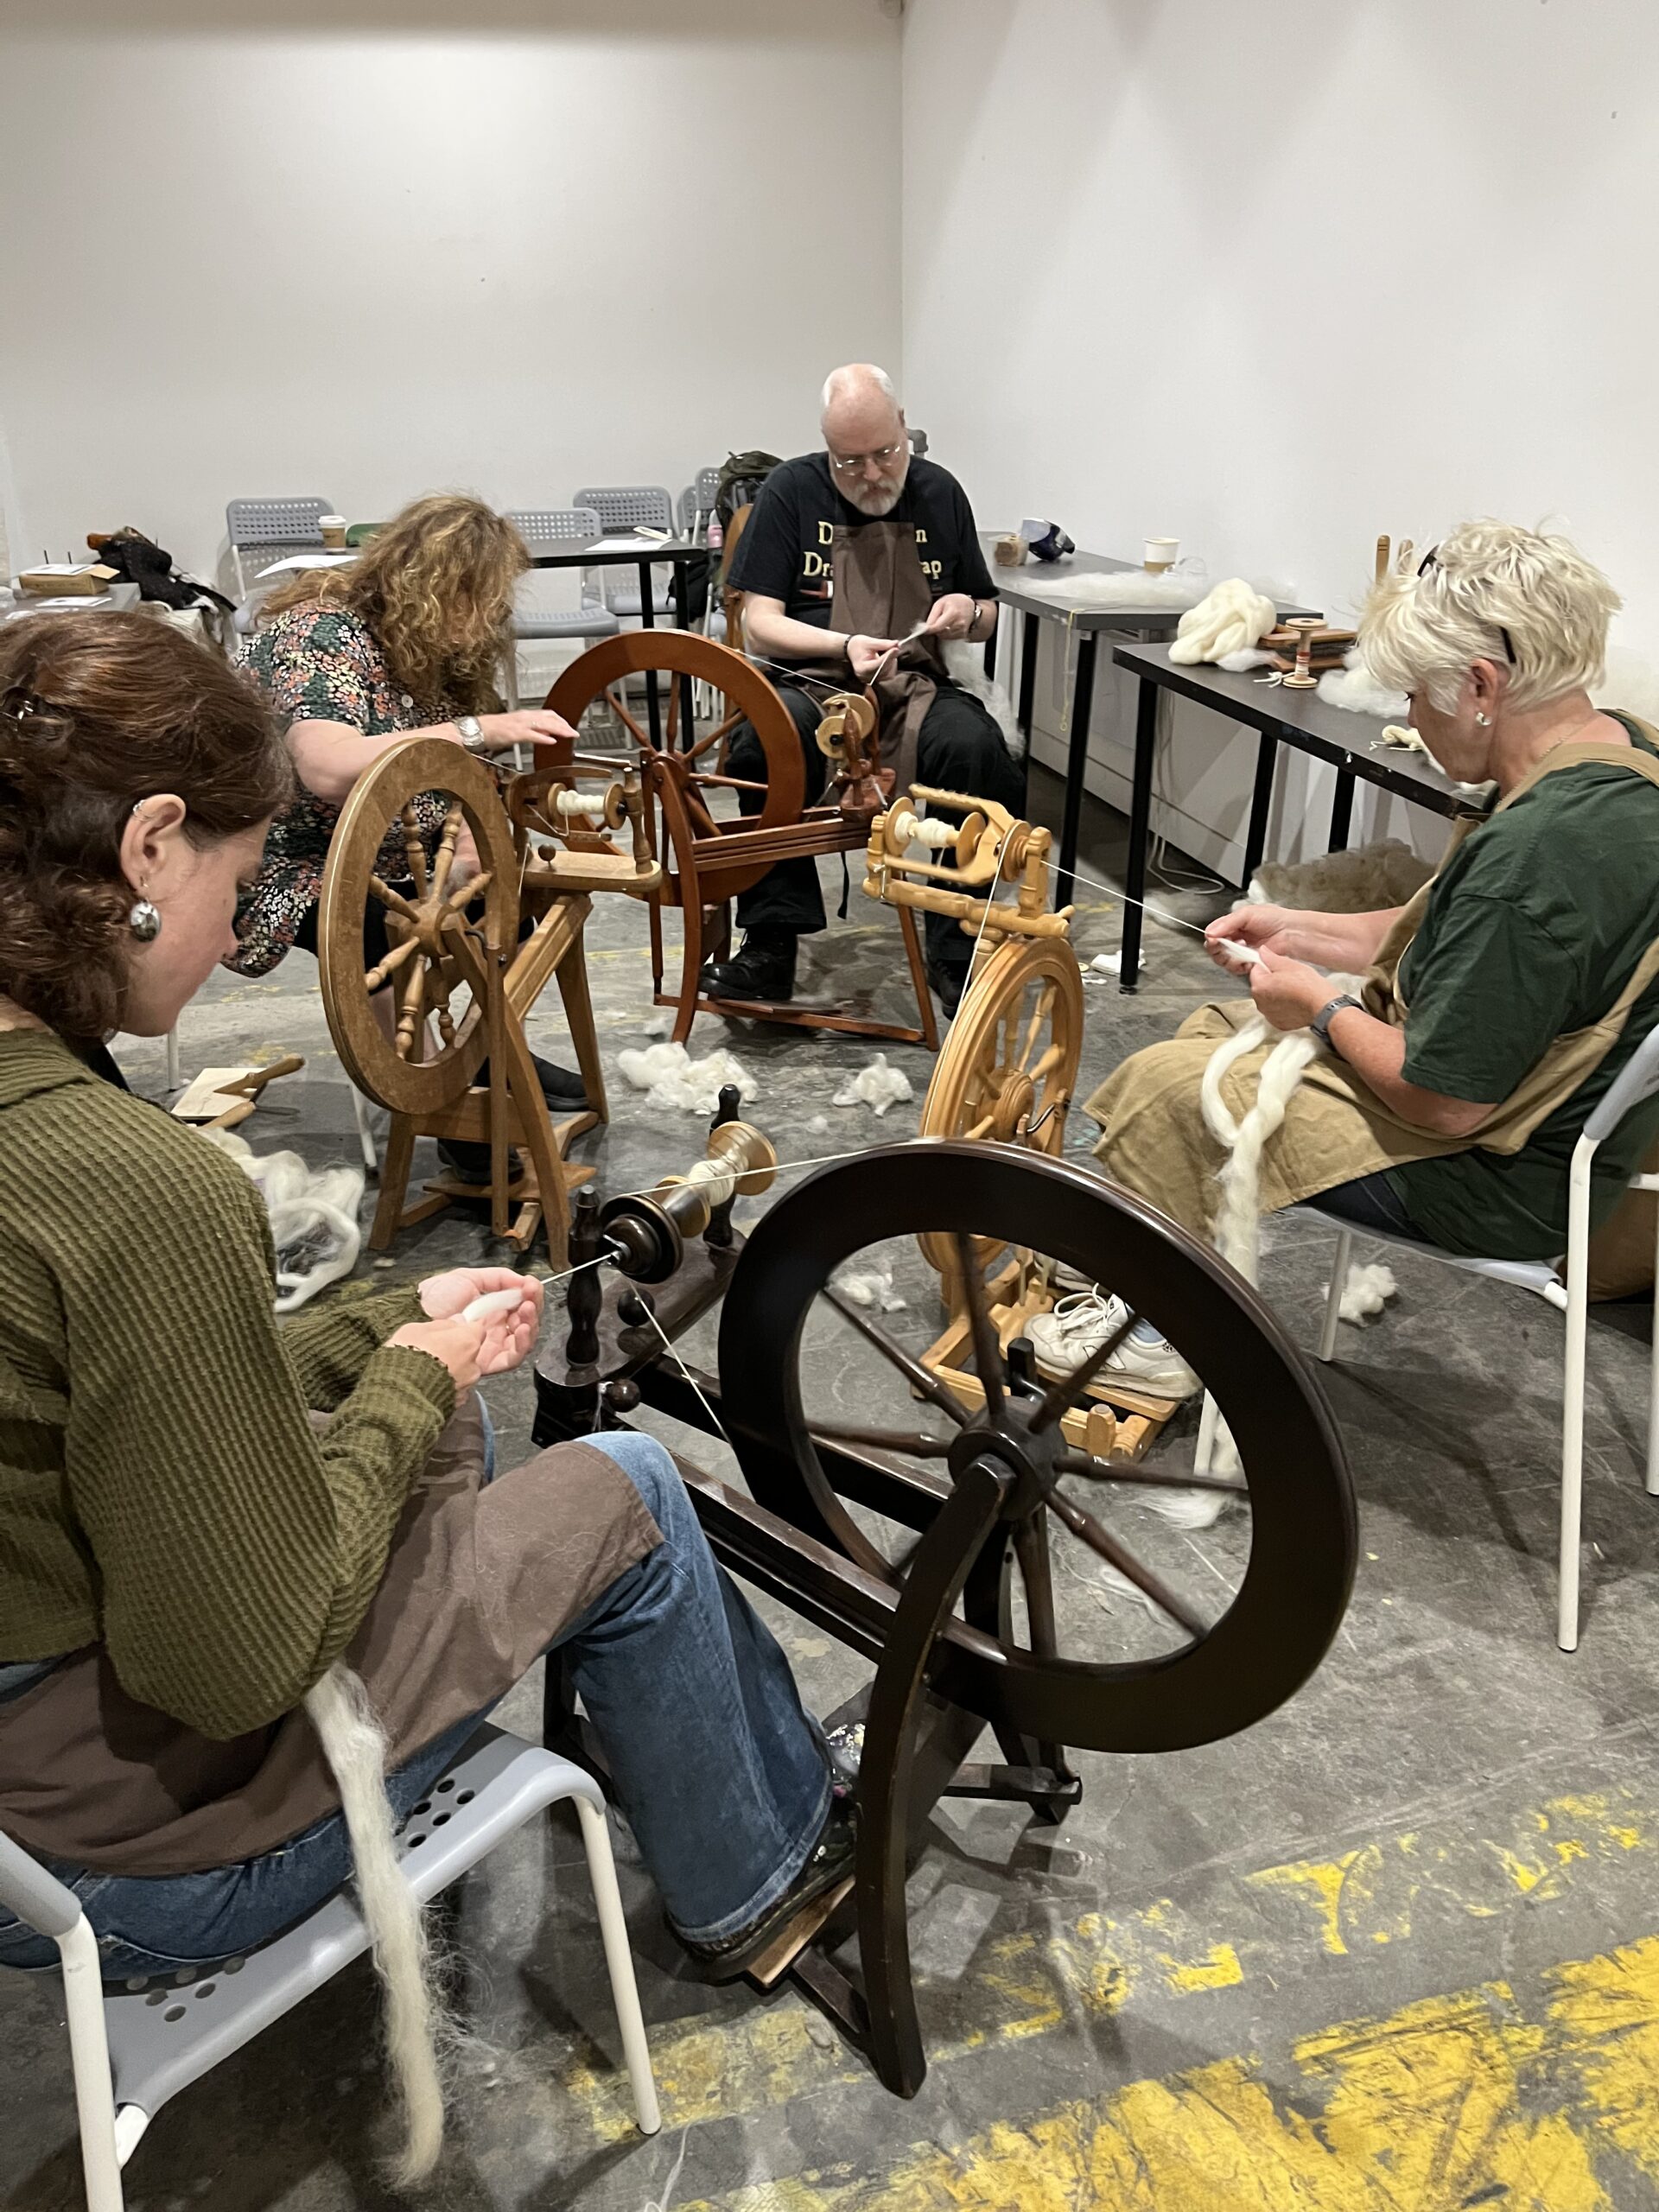
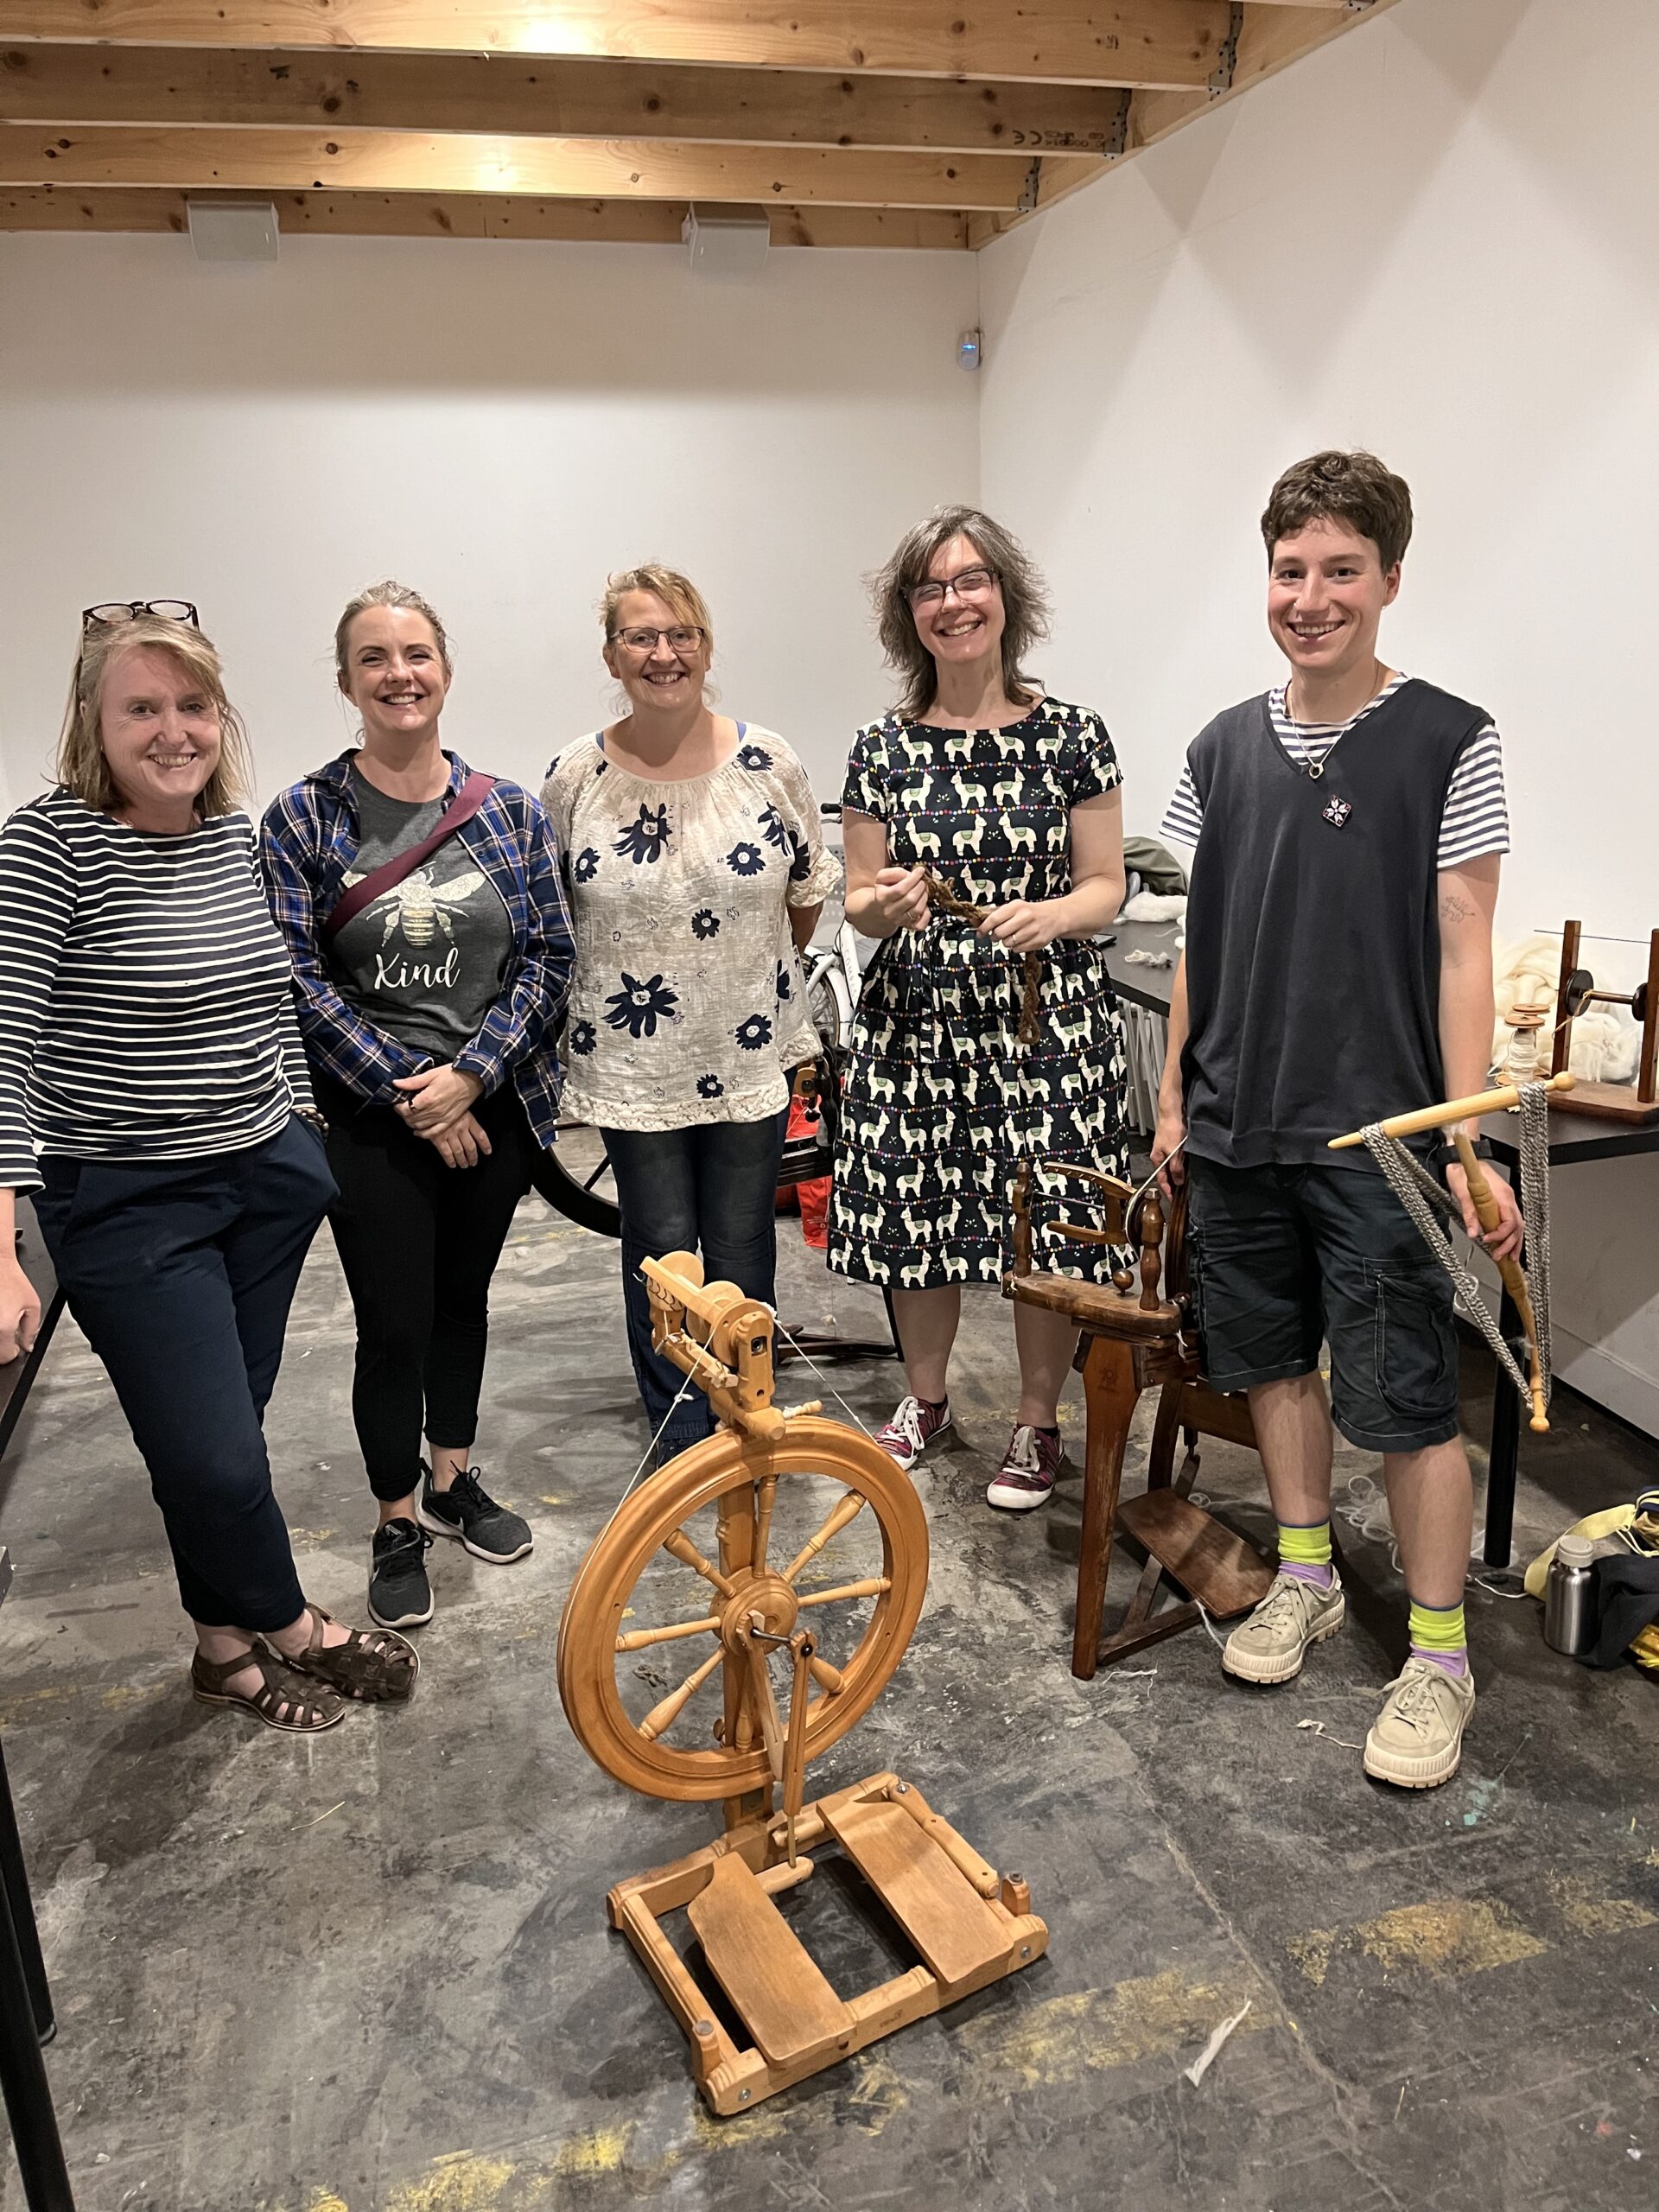
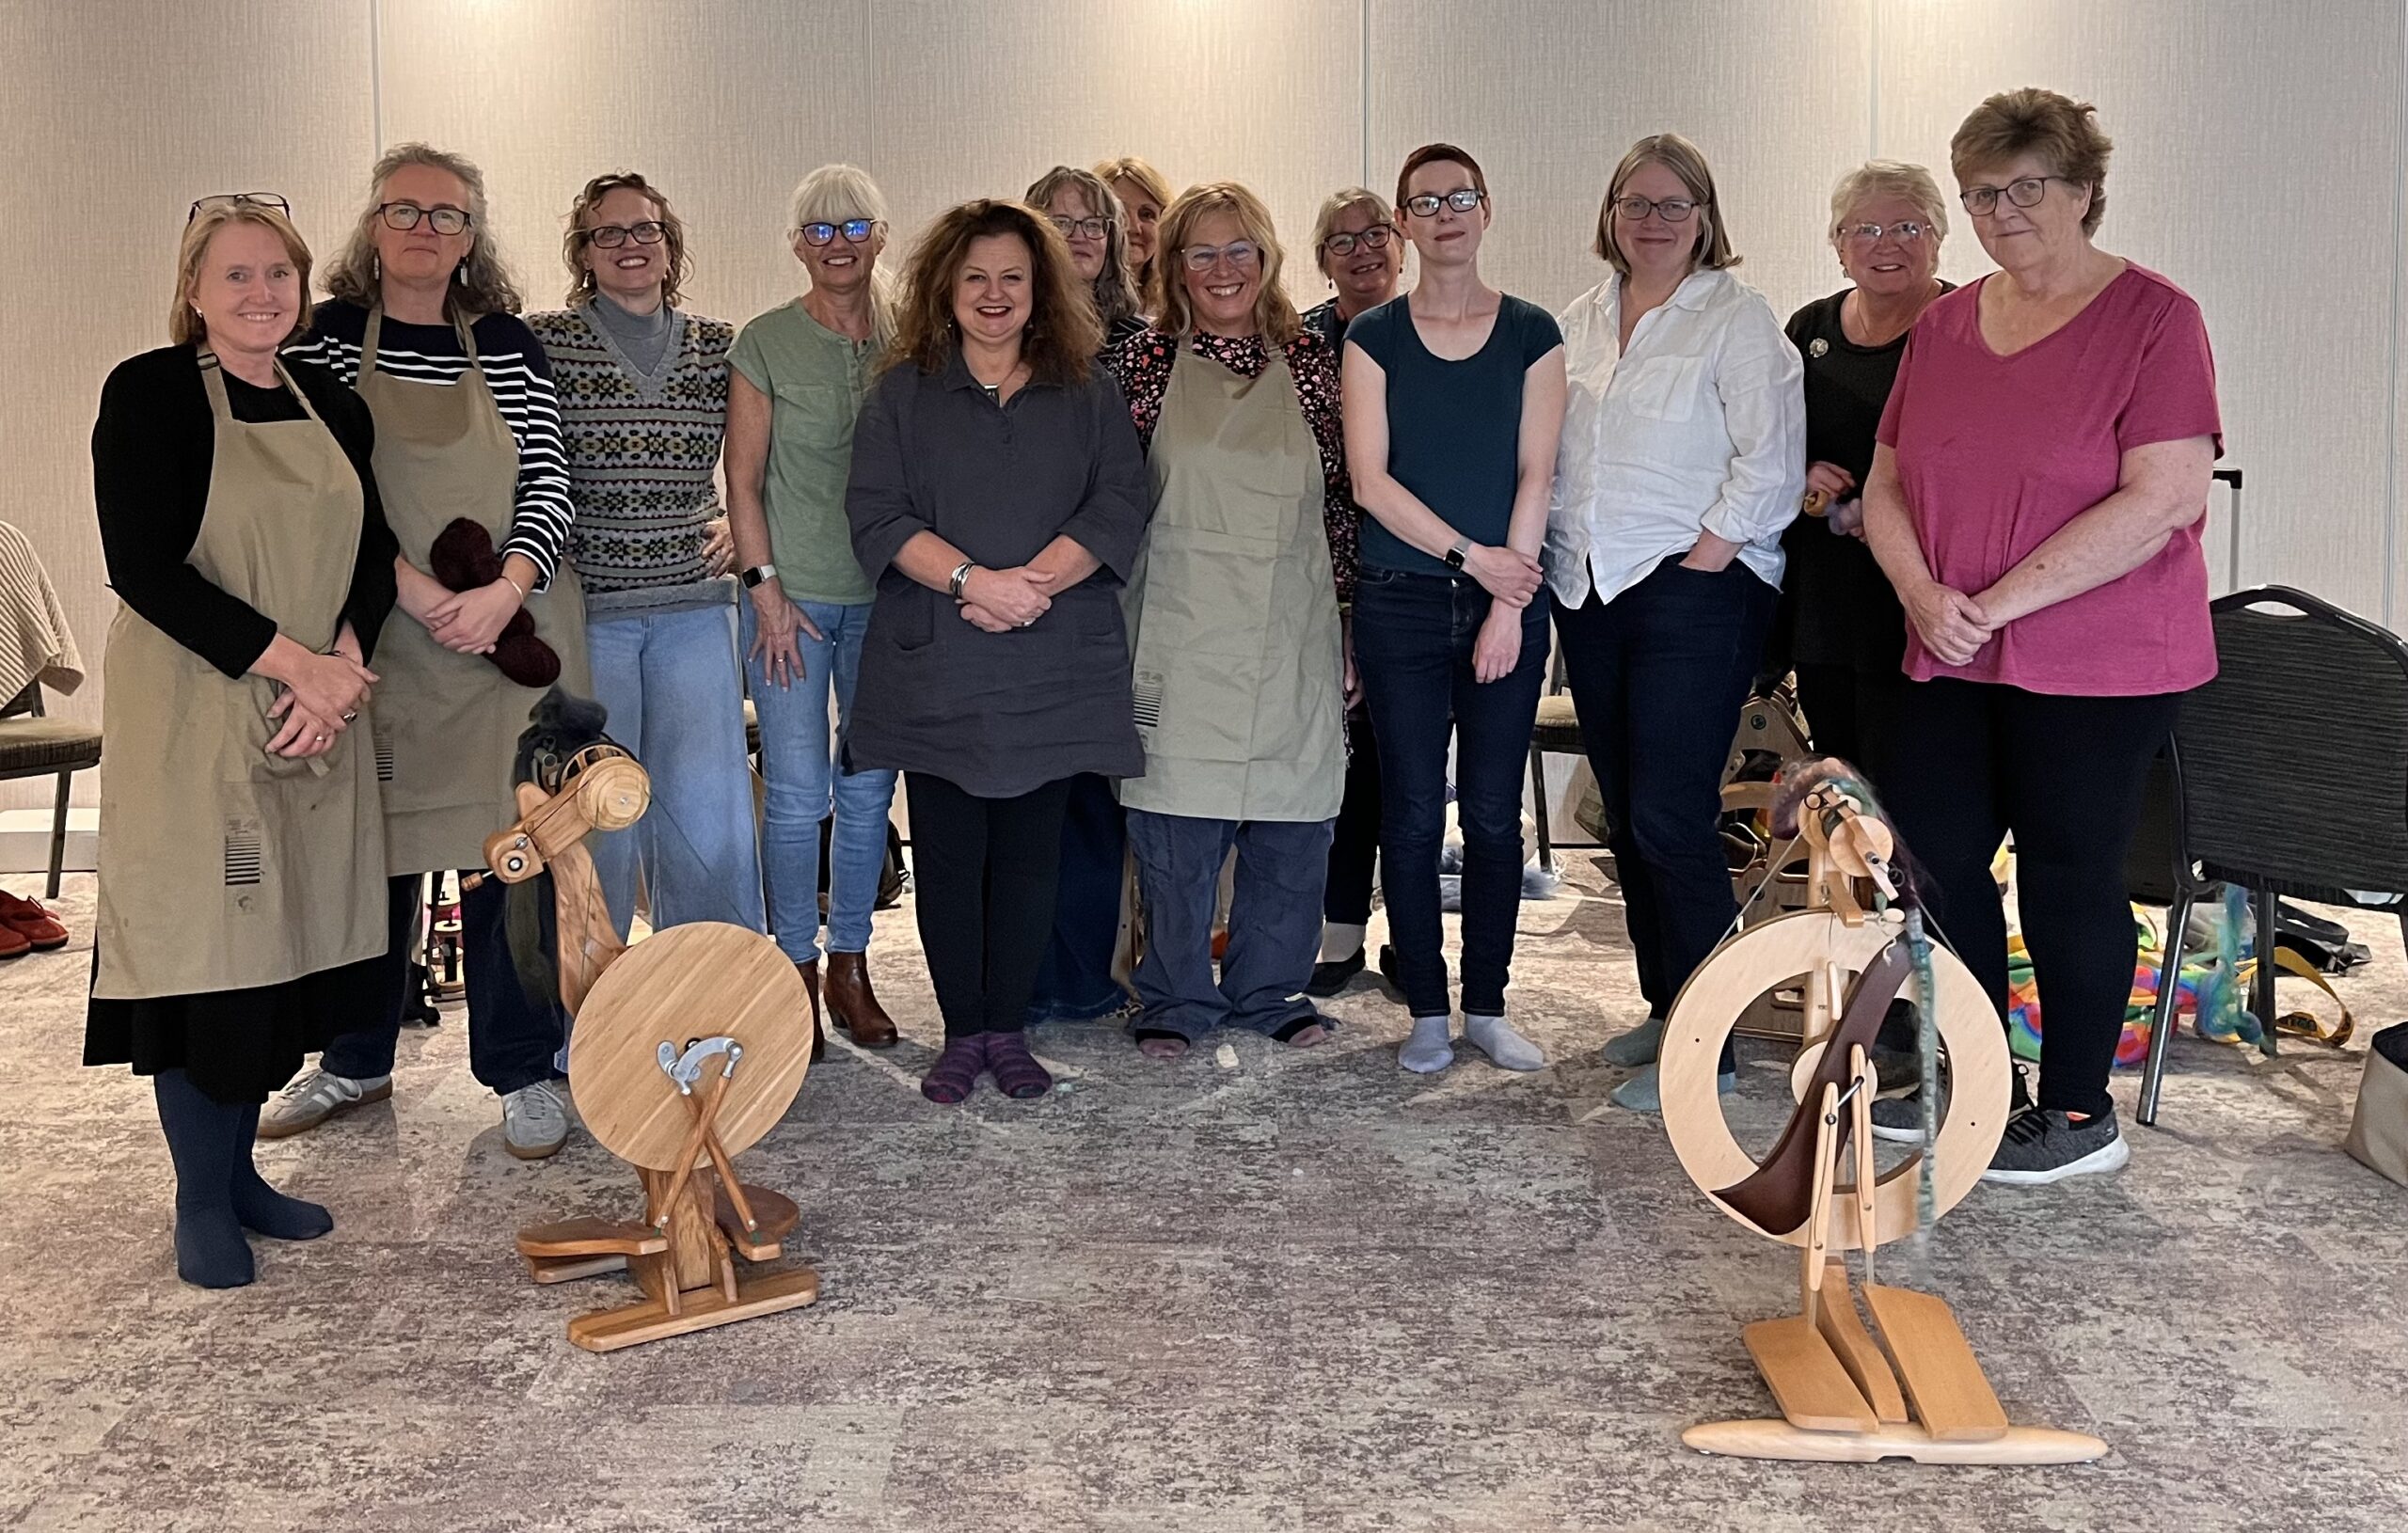
On an autumn day in October, 13 women came together to spin. Just quietly as a break from their hectic lives and careers to spend a few days immersed in a craft that they love.

Img 1688

This was something that I had had bubbling away in the back of my mind for some time and to have the event finally arrive was both exciting and I'll be honest, a little terrifying. Of course I shouldn't have been worried because spinners are a pretty much wonderful community of people

Each received a box of fibre in colours of their choosing, a woven face cloth, handmade soaps from a local producer, Tigermuffin Soaps and a quiz with a chance of a £50 prize from World of Wool

We spun together with the understanding that if anyone wanted to leave for any reason, for a treatment in the spa, or to have a walk around the surrounding countryside, or just to go and have a nap they were to feel free to do so. After all, this weekend is about charging the batteries

On both days there was a demonstration, on Saturday it was around core spinning and how to create Beehives. On Sunday the request was for chain plying and how to get the best out of your dyed fibre.

Img 1672

One of the benefits of having a group with such a variety of experience was the sharing of skills and spinning hacks. As spinners know, there are always at least ten ways of achieving an outcome and one of those may suit you more than others and so it was wonderful to hear different methods shared

Img 1678

The hotel were brilliant and really did cater to all our needs, the food was beautiful. As the organiser, to know that the hotel were so good made my job so much easier and allowed me just to focus on the spinning and the spinners and not to have to worry about other more functional things.

We all agreed that we would love to meet up again in a year and do it all again.

Img 1668

To keep up to date with new dates for spinning or weaving retreats sign up to the newsletter or email me at Cathy.lazykate@gmail.com

Sheep to Skein workshop

Img 1406

What Will I Learn?

We start off with a framework of taking a fleece and choosing how to prepare it to get the best from the fleece but also what will work for you as a spinner/knitter/weaver

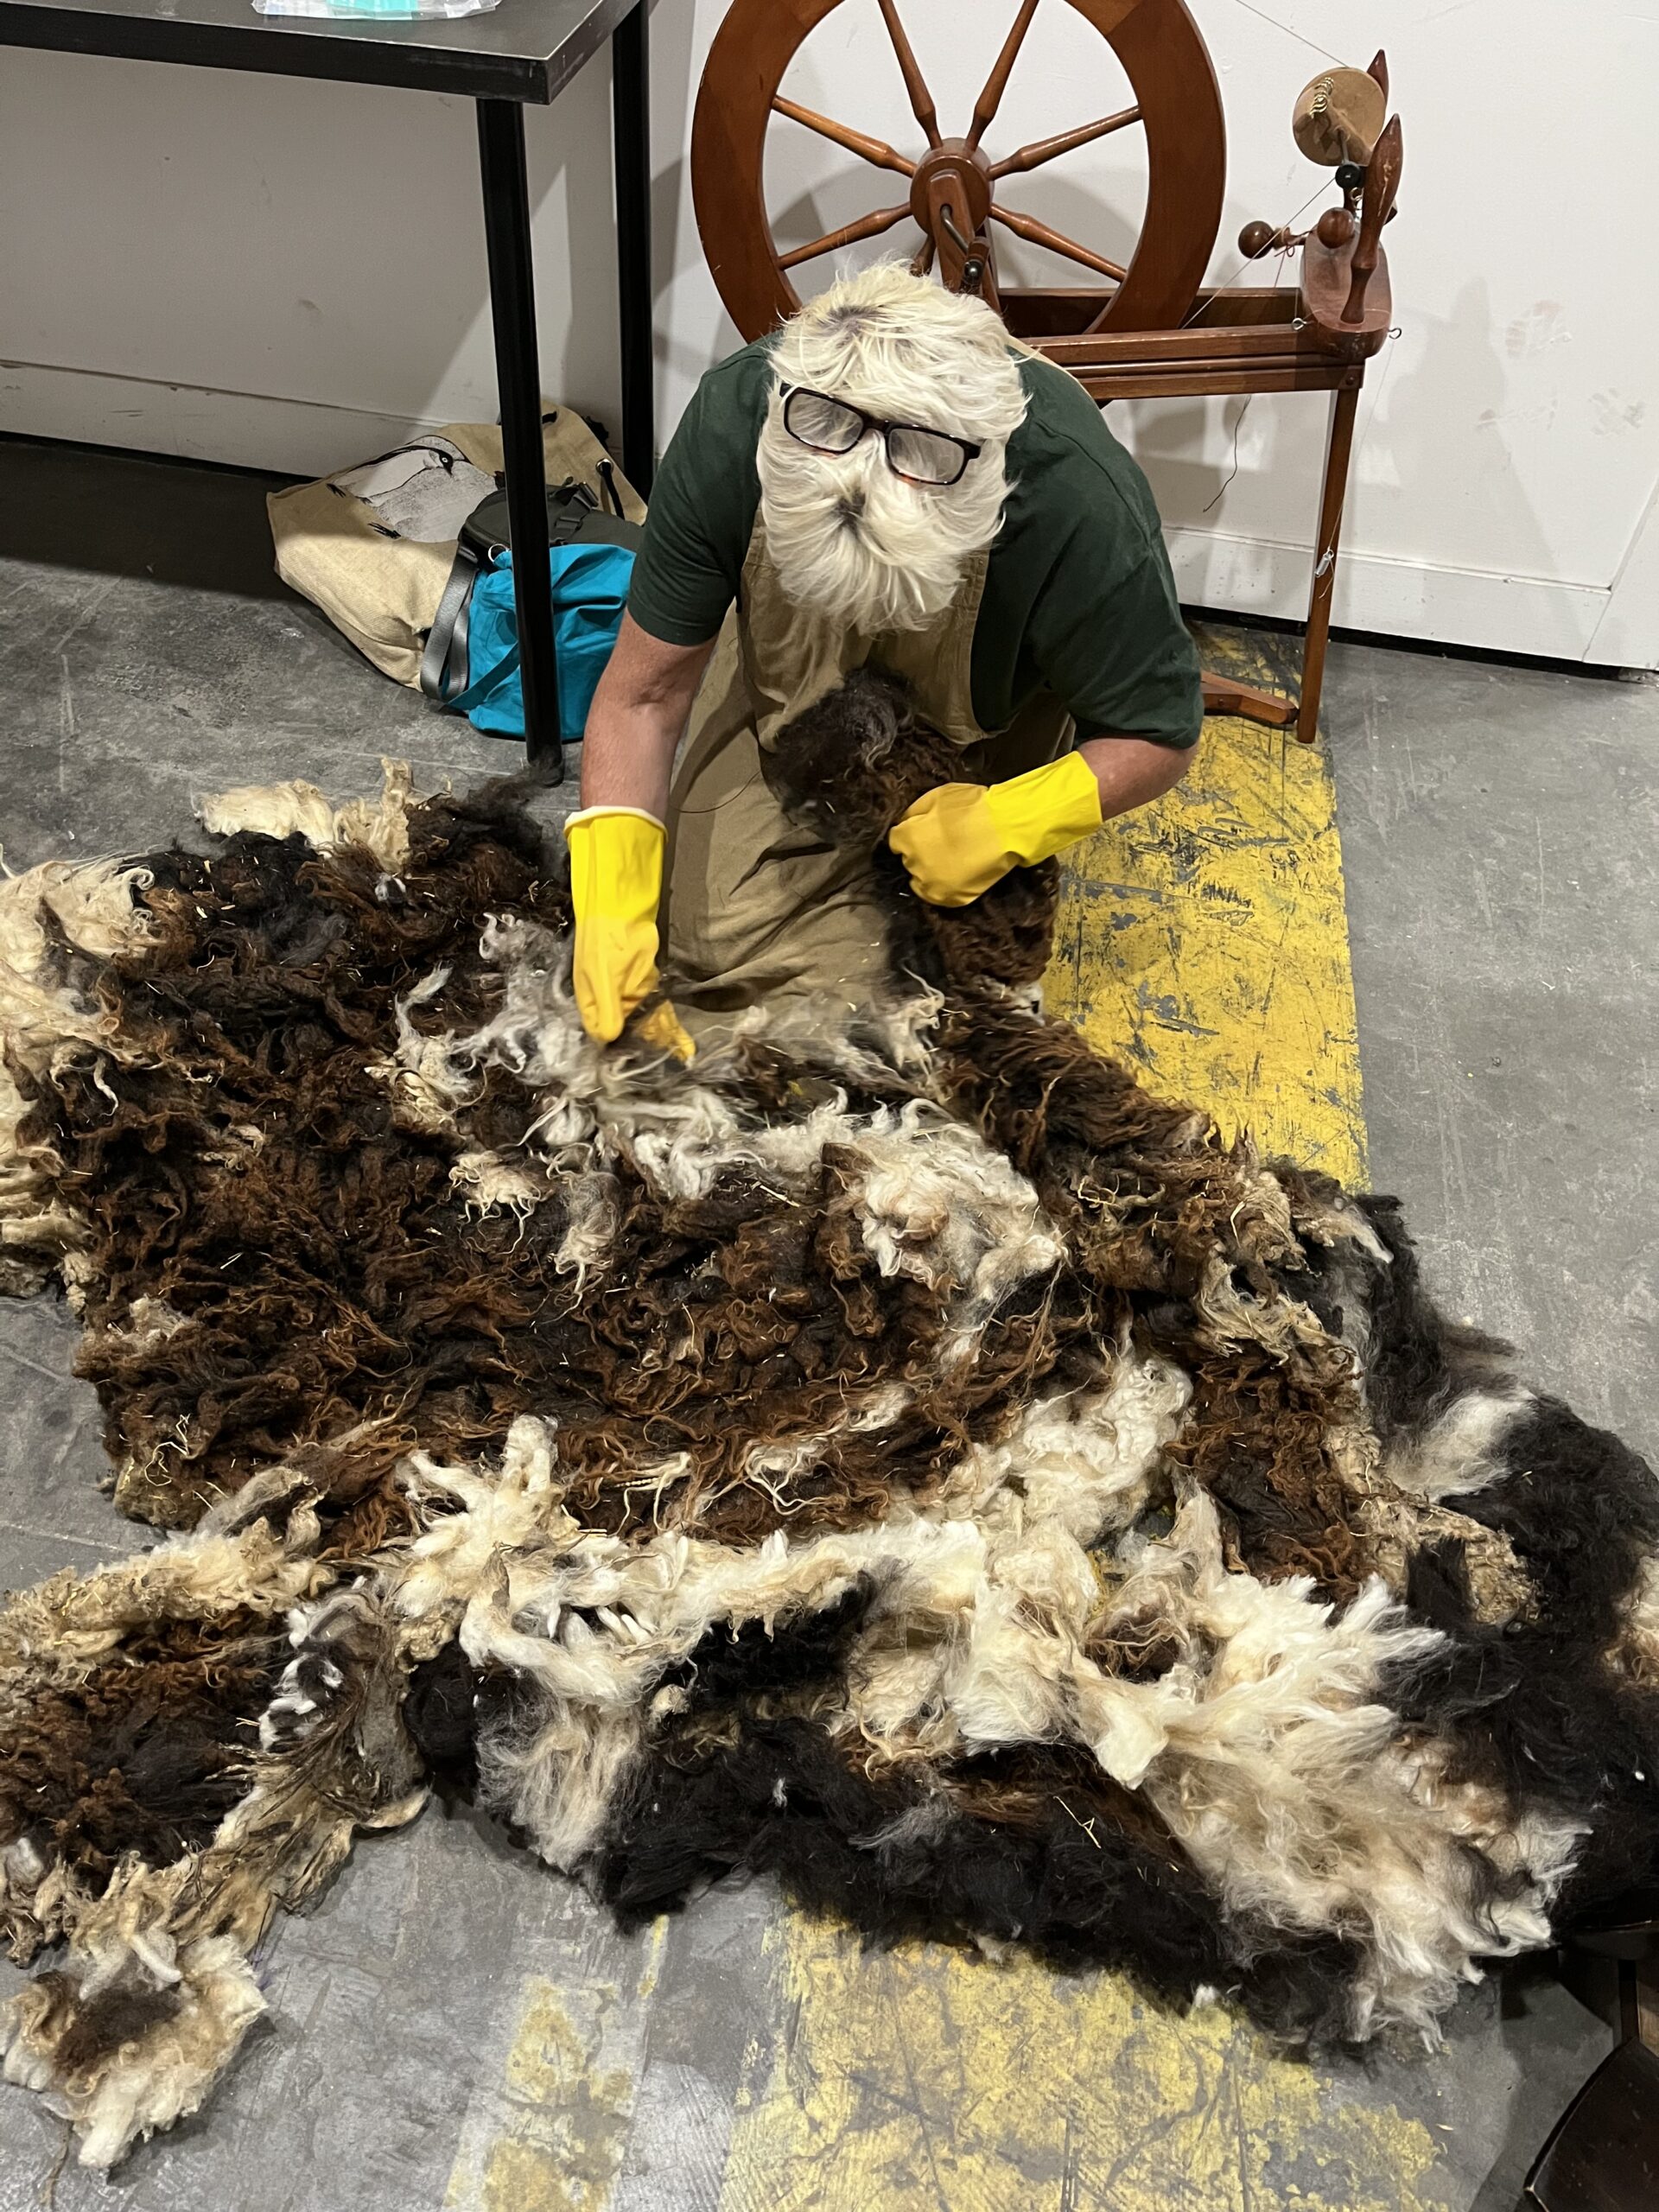
On our recent workshop two attendees, Sam and Gayle brought fleece from their own sheep. Sam brought washed Greyfaced Dartmoor and Gayle brought unwashed Poll Dorset. We also had unwashed Wensleydale and a Texel Cross fleece to make comparisons

My aim for this workshop is to encourage people to have the confidence to find their own way at home and what suits their sheep, fleece and of course their lifestyle and how much time they have. So we discuss different ways of washing be it hot water, cold water or suint. We try different methods of wool preparation, hand carders, drum carding, hand combs, English combs and see how each one will have a different outcome for the fleece.

And then we spin and even in this area there are choices to be made - single treadle or double? Castle or Saxony wheel? So we have different wheels to see what will suit.

Can I bring my own fleece?

Img 0976

If you're a smallholder or farmer who wants to start using your fleece and learn to spin, the best way is to use that fleece on the workshop so that you can start to understand the properties of it so yes, by all means bring your own fleece. It's also interesting for other to see the different fleeces an who knows, you could make some connections and start to have an outlet for your fleeces on the workshop

Img 0979

When is the next one?

Dates run throughout the year so keep an eye on the website or join the newsletter. I'm always happy to hear if you have a particular time you'd like to come along and maybe I can work around your dates, especially if there are a couple of you so please get in touch at info@lazykatetextiles.co.uk.

Here's the links to uncoming dates

Img 1410

Lazykate Spinning Retreat

10th -12 October

A whole weekend of spinning, tutorials, fibre and pampering awaits at our first spinning retreat!

Situated in Wrightington Hotel and Spa, just five minutes drive from Junction 27 on the M6, the retreat will allow you to immerse yourself in a world of fibre with likeminded people. There will be inspiration, sharing of ideas but also time for you to take a breath, slow down and let someone else take the weight for a while

Lazykate Retreat Wrightington Hotel

Where will the retreat be held?

The Wrightington Hotel and Spa is an award winning hotel with conference facilities to suit our needs meaning that we can have dedicated space for the weekend

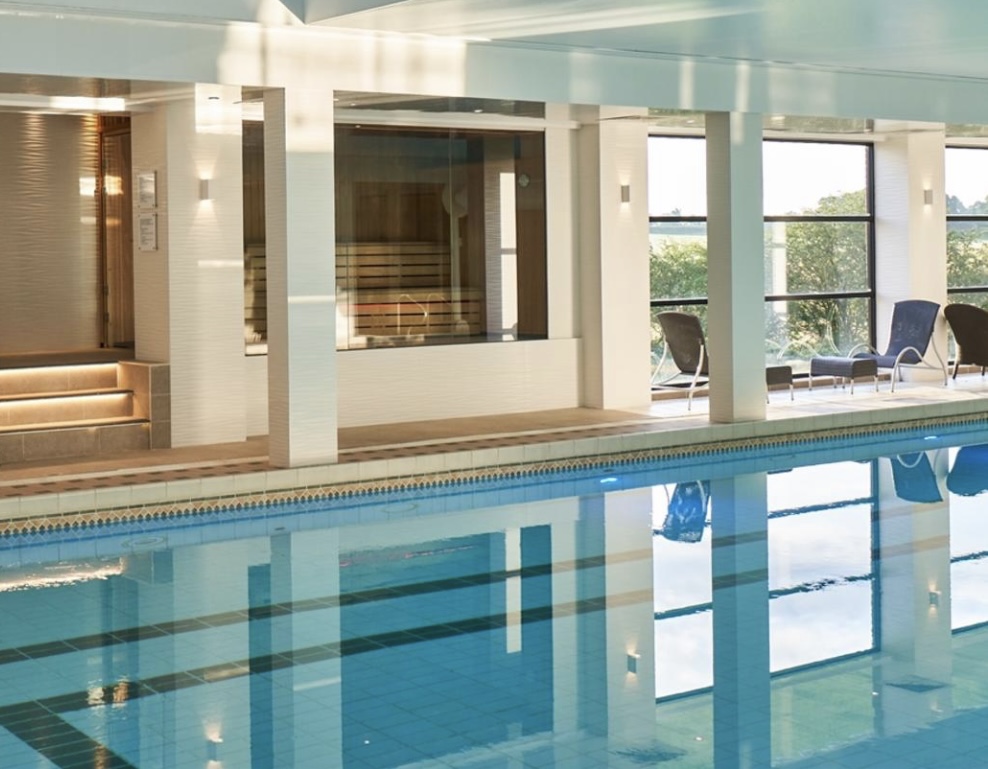
Each person will be allocated their own room for the weekend - no need to share. All meals and refreshments* will be provided throughout the retreat and use of the Health Club facilities including pool and sauna so you can pamper your body as well as your mind.

Lazykate Spinning Retreat
Pool, sauna & steam room

Take a look at the hotel here

Spinners Retreat at Wrightington Hotel and Spa

Itinerary for the weekend

Friday

Hotel Check in from 3pm, time to settle in. Teas and coffees in the lounge

Three course dinner served in the dining room, afterwards making ourselves at home in the Spinning Suite. You'll receive your welcome pack with fibre in your choice of shades

Saturday

Morning swim?

Breakfast - full English or something lighter served in the restaurant.

10am - A morning of spinning together in the Suite with unlimited and coffees, biscuits and fruit

12pm - Two course hot and cold buffet lunch served with tea and coffee

Afternoon workshop - Beehives, cocoons and coils - how to get the best out of your yarn

Home made biscuits and unlimited teas and coffees throughout the afternoon

4pm - your time is your own. You're welcome to stay in the Spinning Suite, use the facilities or why not book a spa treatment? (not included in the package but can be booked via the hotel)

3 Course dinner served in the restaurant

Sunday

How about a sauna?

Breakfast - served in the restaurant

10am - Spinning in the suite,

11am. Hotel checkout but our luggage can be stored while we spin

Lunch- hot and cold buffet

PM - a workshop, troubleshooting and try something new

4pm - packing up and heading off

The Itinerary is a frame work just to give us a little organisation but the main thing is that we are there to relax so you are welcome to come and go as you please, use the facilities, spin for a while or spin for the whole day - this is your time!

There will be a welcome pack on arrival with beautifully dyed luxurious fibre for you to spin over the weekend in a choice of Spring, Summer, Autumn or Winter colours and other treats to make the weekend enjoyable.

Beginner's Guide to Rigid Heddle Looms

Your new loom has arrived!! It's all very exciting with the possibilities of weaving your own cloth but can also feel a little overwhelming. Where do you start? Let's take a quick look into the yarn you could use

If you buy a Kromski Harp Forte loom you will have an 8dpi heddle included with your loom. What does that even mean? What yarns can you use with that heddle?

What's the difference between a heddle and a reed?

On shaft looms you there are two separate parts, heddles and reeds. The heddles are used to separate the warp threads and the reed is used to beat the weft into place

On a rigid heddle loom, the heddle does both of those jobs, the warp threads go through the slots of the heddles but you also beat your weft into position. For that reason, on a rigid heddle, sometimes you will see it referred to as a heddle or a reed but for our purposes here will will be calling it a heddle

What does the dpi refer to?

Kromski Walnut Heddles, kromski walnut reed, different dpi, which heddle to use?

The an abbreviation dpi stands for dents per inch and refers to how many slots and holes are in an inch of your heddle. Different heddles have different dpi, on Kromski looms there are 5, 8, 10 and 12 dpi to choose from and also a variedent reed which has all of these options so you can mix and match the yarns you use.

Which yarn do I use with my heddle?

Which yarn to use with my rigid heddle? What yarn foes with which heddle?

At the moment, we're talking about the heddle you have when your new loom arrives which in the case of a Kromski Harp Forte loom is an 8dpi. For Ashford looms that will be a 7.5. If you're coming to weaving from knitting then the short answer is a dk weight. If you're using this yarn for warp, remember that it will be under tension for a while and also have the abrasion of the heddle moving back and forth so it needs to be quite a strong yarn. To check it's strong enough, give it the tug test. Take a piece of yarn, make sure it's at least an arms length and give it a firm tug. If it withstands the tug then it's usually ok to use as warp

The way that weavers check which heddle is suitable for which yarn (for instance, say I've spun some yarn and forgotten about it - how do I know what gauge it is?) is by using a method called wraps per inch or wpi . Take a ruler and wrap a length of yarn around an inch worth of ruler. You then half this amount and that is the heddle size you would use. So if my yarn wraps around 12, 14 or 15 times you that would suit an 8dpi heddle as that's nearest to half those numbers

Which yarn for which heddle?  How does wraps per inch work?

The yarn I normally use on workshops is sock yarn that I dye myself. This yarn is 19wpi and so I usually use my 10dpi heddle, that being the nearest to half. If you didn't have a 10dpi heddle but you have a stash of sock yarn - (you yarn festival fiend!!) then you can double up on your 8dpi heddle with two threads in each slot and hole. Saving you from having to buy another heddle

This is a rough guide and as always there is plenty more to learn but if you're itching to get weaving from your stash, this will get you started

Diamond Twill Scarf on a rigid heddle loom

Finished Diamond Twill Scarf Studio

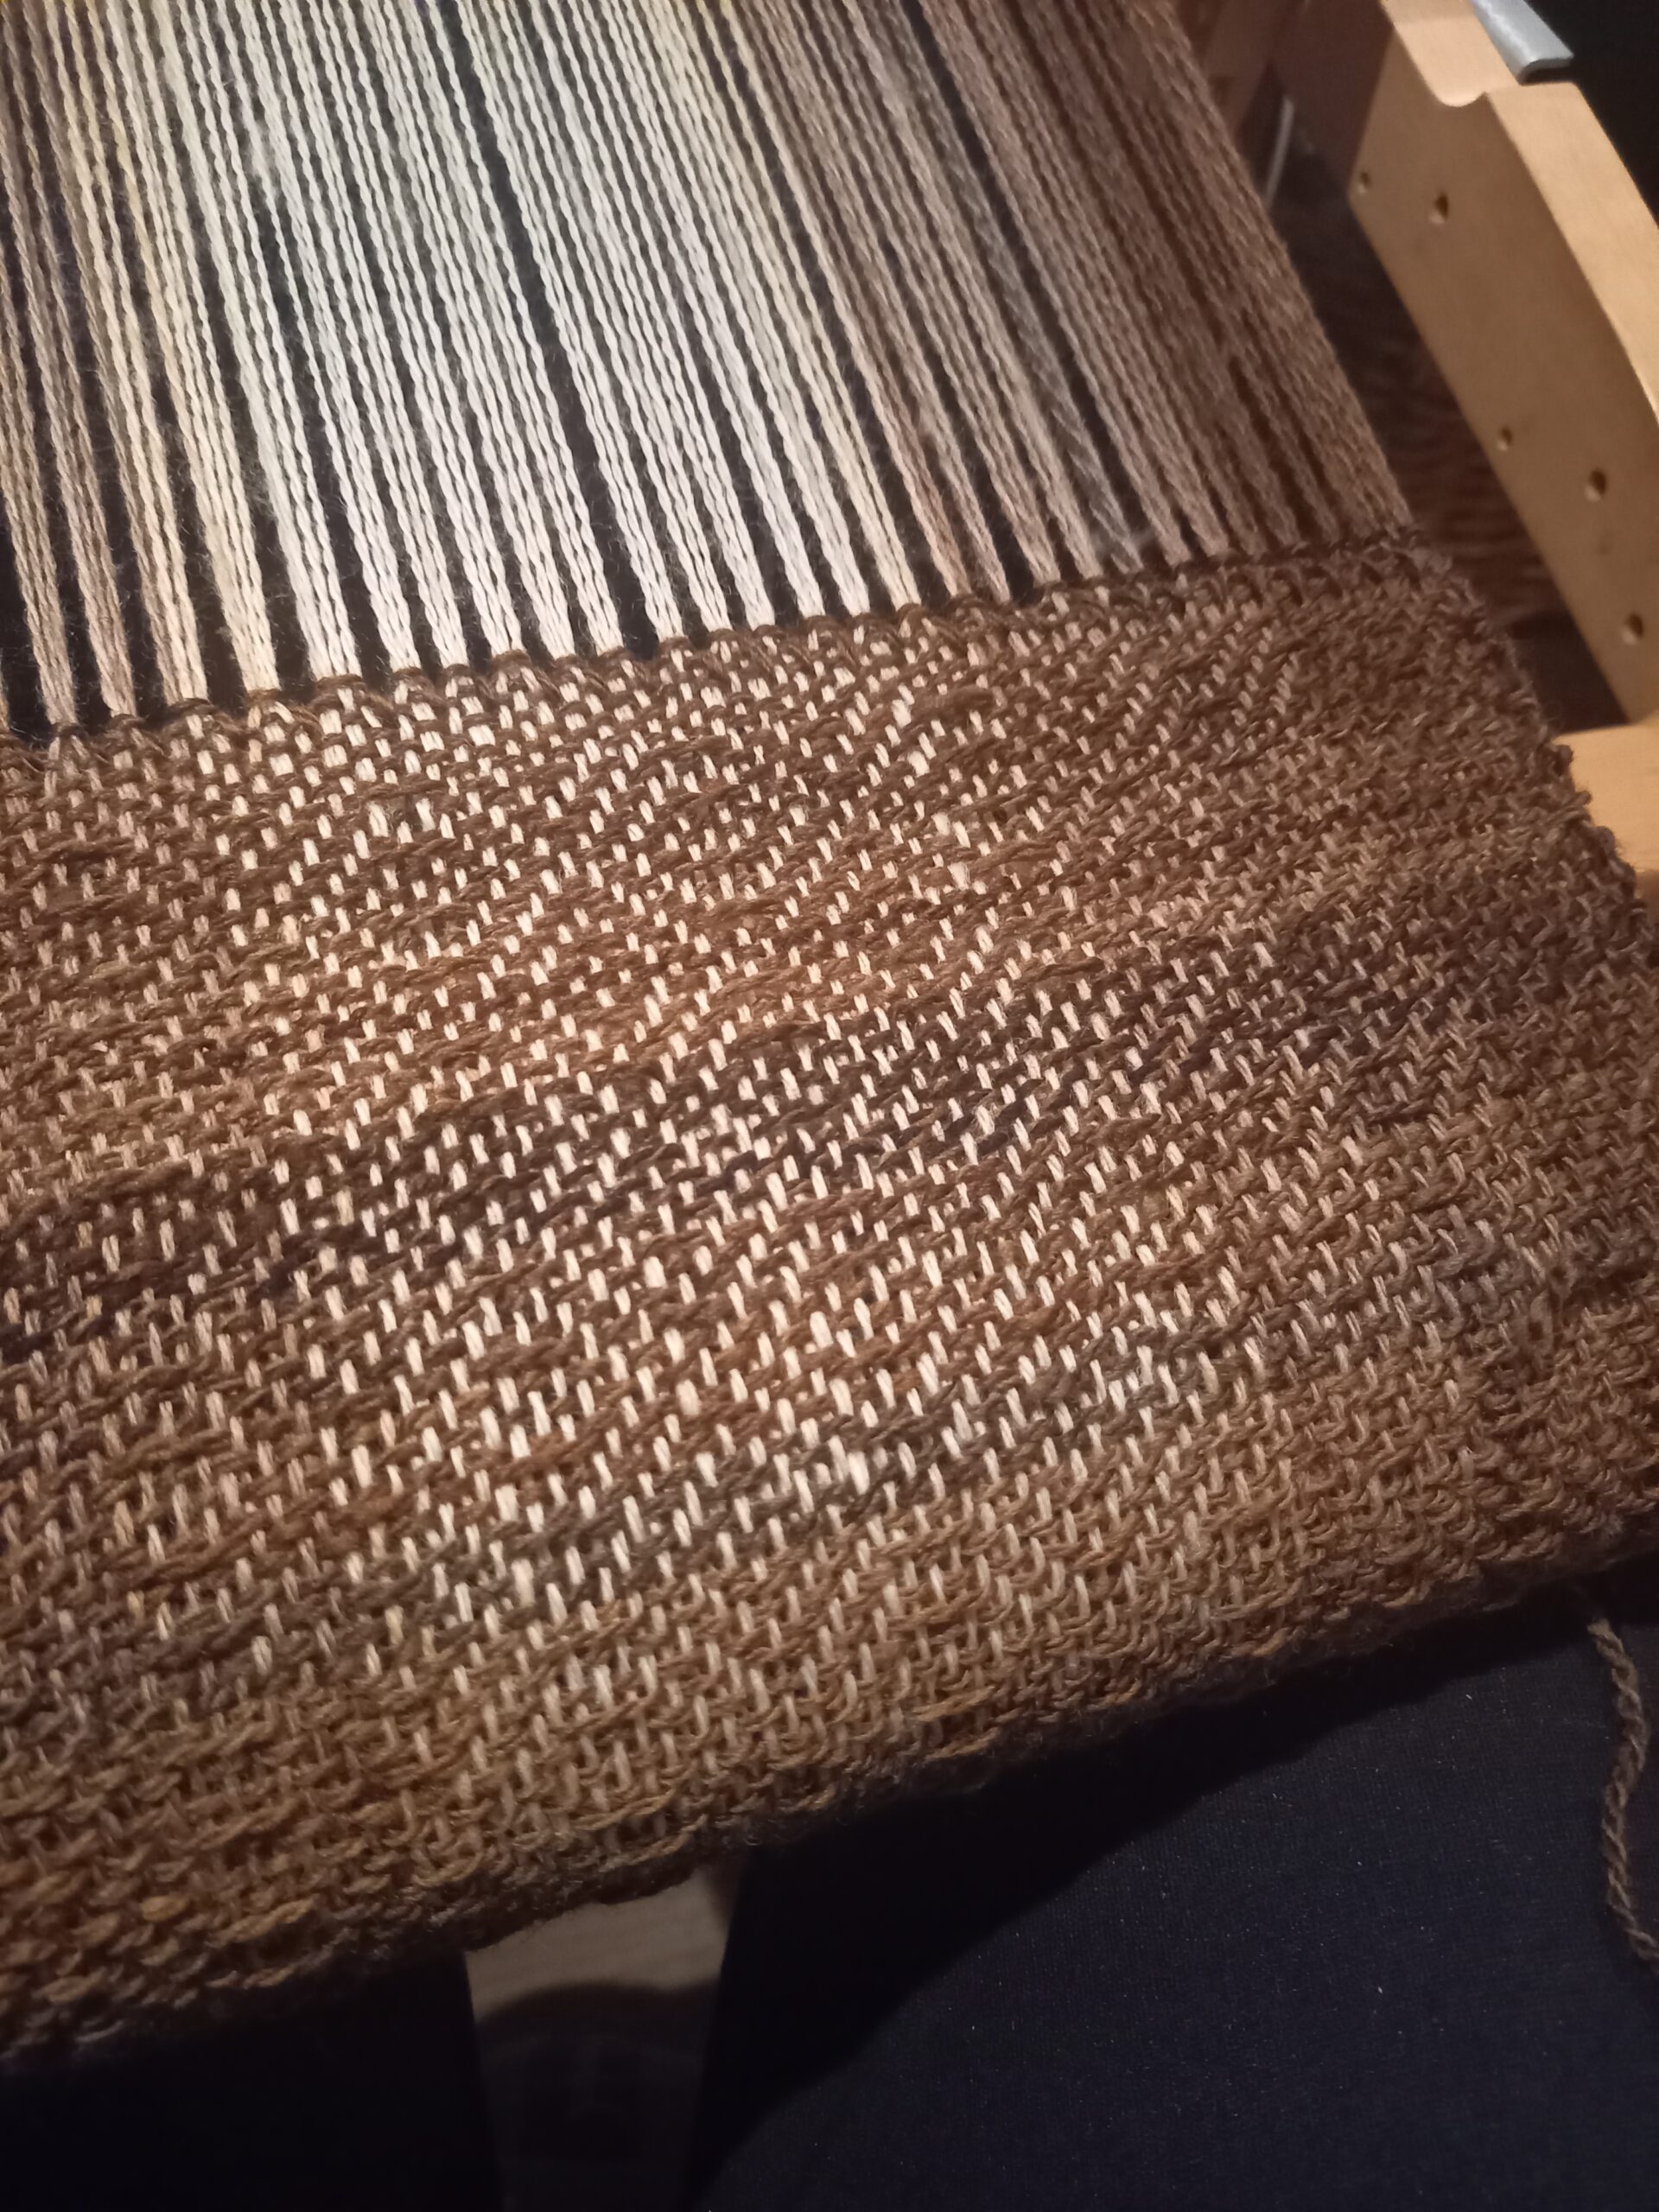
My aim was to spin a gradient scarf and weave it up in a diamond twill pattern with the pattern showing on the cream section in the middle

As mentioned in the previous post, the fibre is Cormo ( an Australian breed of sheep - Merino and Corriedale cross) and so had the softness I wanted to wear around my neck with a micron count of 23*. My Cormo came from World of Wool, you can buy it here

*a micron is a measurement of a millionth of a metre

I spun a short forward draw on my Kromski Fantasia and my plied yarn came out at 19wpi which is my usual default spin and to be honest, I worked around that because I wanted to chat and watch tv while I spun.

Handspun Gradient Cormo

Having googled that the average length of a scarf is 80" ( 203cm) in length and 12" (30cm) wide I opted for my 16" (40cm) Kromski Harp Forte loom and used two 8dpi heddles which would give me a sett of 16epi

How Much Yarn?

With maths giving me mainly a sinking feeling ( I know that is a terrible attitude to have) I took the easiest route I could to working out the amount of yarn I needed for warp and headed for Gist Yarn's warp calculator which told me I needed 841in (2136cm) for warp and 768 (1950cm) in for weft. Sound huge but cm are only little.

As this scarf was a graduated fade and I had chosen 4 shades to lead to the cream colour in the middle, I just made sure I had enough spun up - I spun a LOT. I'll probably have enough to knit a hat to go with the scarf and I don't regret all the spinning because it was such a gorgeous fibre that I think I just got lost in it

Diamond Twill Threading

Diamonf Twill Scarf Warp

If you haven't woven using two heddles before then this might seem a little overwhelming at first but just take each step at a time. I'd recommend sampling a small piece first, without the colour gradient just to get into the flow. For your first time sample I would recommend two contrasting colours, maybe a dark and light blue for example

Your back heddle will be the one you warp up first. Whereas you probably will have been used to warping up with two threads in each slot moving one over into the adjacent hole, in this threading you will have two occasions in the pattern where there is four threads.

Leave a couple of slots each side before you start threading

Each rectangle represents a slot and each circle represents a hole. With this pattern you will thread along the whole of the section which will be all nine slots and then only repeat the repeated section for however wide you want your fabric to be

Deep breath - let's get started

Start with the back heddle and concentrate on that, even put a piece of paper over the front heddle section so you don't get distracted

Start threading from right to left and work across - remember, thread all the way across just for the first time and then just thread the repeated section. Thread all the way along that back section and then check your work

Diamond Twill Pattern, rigid heddle diamond twill

Now for the front heddle

So starting again from the right your first threading has been two ends (warp threads) through that one slot. One of those will go through the corresponding slot in the front heddle. The other thread will go into the hole on the left of that slot. If you've left one or two slots at the edge this should be easily identifiable and will help you get the correct threading as you go

Thread all the way along once and then just the repeated section. Don't panic when you see two empty holes appear on the back heddle, that's correct, it's where the pattern repeats. At no point should you have any hole to hole threading.

Once you've threaded your front heddle check your work. Tie on as you normally would and place some spacer yarn in and you're ready to weave

Now for the instructions

1 - this is front heddle up, weave one row

2 - this is back heddle up, weave one row

3 - this is both heddles down, weave one row

Weave in this sequence:

1 2 3 1 2 3 1 3 2 1 3 2 1 3

Don't panic if the pattern seems not so visible, it may be on the under side of the fabric so have a sneaky look. In this image the pattern seemed so lost but it was hiding underneath all along!

Diamond Twill Scarf Pattern Underneath

In the next post we will look at the gradient threading

If you'd like to join me on the next Diamond Twill dates you can come along to a two day workshop on 10th and 11th January or 6th and 7th March where we will cover diamond Twill and Double Width weaving. To join this workshop click here

or if Diamond Twill is just your thing, you can come for the first day on 10th January or 6th March, click here
Let me know how it goes!

Spinning Cormo Fibre

After such a long time spinning natural fibre I thought it was time for a change and I really wanted to spin some dyed fibre and have those colours drafting between my fingers.

Cormo, a blend of Corriedale and Merino fibre is new to me. Both Corriedale and Merino are New Zealand breeds and so the micron count (the unit we use to measure the diameter of fibre) is very low at 23. This means it is super soft and delicate enough to be worn around the neck of even the most sensitive of souls.

The - extremely loose - plan

I'd love to make a handspun diamond twill gradient scarf. Having a stock of acid dyes still to use I've chosen to go with a brown to cream gradient.

I'll be honest with you, the first dye pot didn't go as I'd planned. I've dyed fibre for many years so this came as quite a surprise and I still haven't really got to the bottom of it.

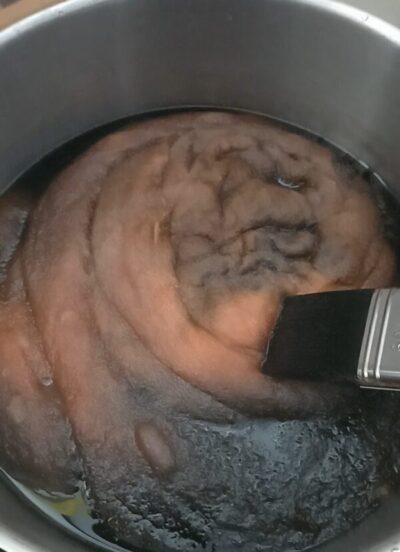
I used 4g of citric acid to 100g of fibre, hoping for a deep chocolate brown. The dye would not exhaust at all and so after adding a little more of the citric acid and it still not dyeing deeper than a mid brown I left it and used the considerable exhaust to dye up some BFL high twist yarn which I'll use on weaving workshops

Screenshot 20241001 133644

Spinning Up

I've chose to use a forward short draw worsted draft for this spin as I want the yarn to keep the gorgeous sheen. Short forward is also my default spin and I love to watch the television when spinning and just relax so this will help me to keep my gauge

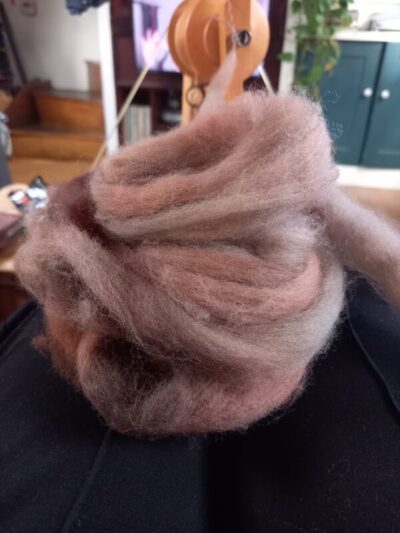
Hand dyed Cormo Fibre
Fibre ready to be spun

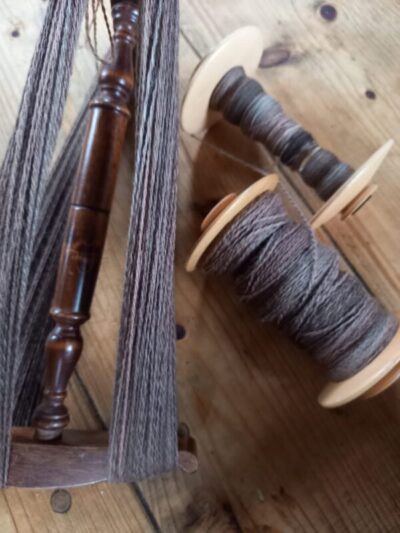
My singles came out at approx 36wpi with a plied wpi of 18 and I'm happy with that. As this will be a scarf for myself, I'm not overly worrying about twist per inch or getting anything perfect, I just want a nice chilled project

Handspun Cormo Fibre

Dyeing Again

After asking for other people's experiences on Facebook groups I went back to dye my next lot of fibre and went for it with the citric acid. I put two teaspoons per 100g and poured liquid deep chocolate coloured dye in the pot. The fibre was much deeper but there was still quite a lot of dye in the exhaust. I'll always use up the exhaust for yarn now though so nothing was wasted and I'm much happier with this fibre which I think will work really well with the gradient yarn already spun

Acid dyed fibre, Dyeing workshops UK
Second attempt Cormo Fibre

So of course, the actual spinning will take a little while but I'll post an update as soon as it's done and let you know what happens next

Naturally dyed laceweight on the loom

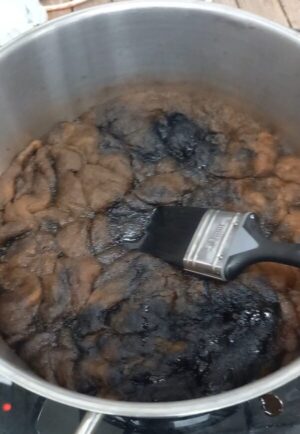
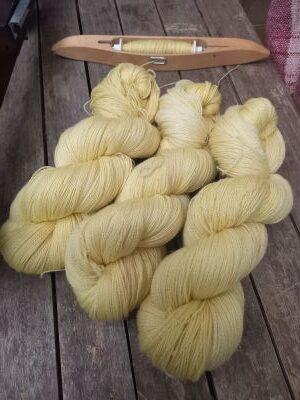
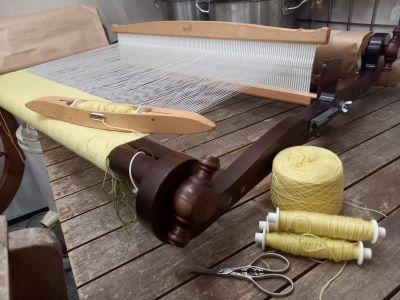
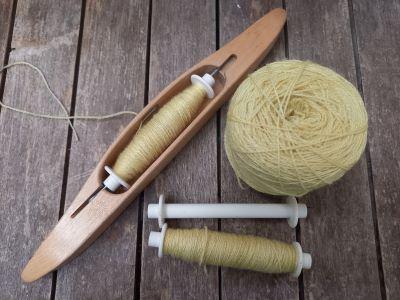
This week I've been continuing with my Bluefaced Leicester/silk laceweight. This yarn was dyed in the spring with Comfrey, creating this gorgeous lemon colour which is slightly lighter than I would usually choose. It could be a good experiment to dye with comfrey again now to see what a more mature plant would produce.

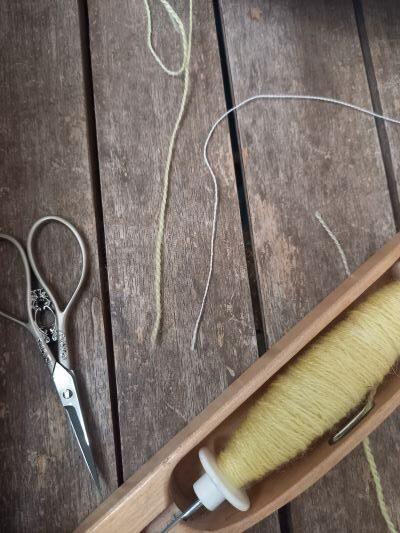
I've chosen this yarn as I know through previous weaving it gives a gorgeous drape. I've used it in a weft faced and also a balanced weave and so I know I love the feel of it. This project, which I would like to be fabric to make a top from needed to be weft faced and so the warp I've used is a very fine cotton. As I purchased this years ago I'm not sure of the actual weight but it works out at 42/43wpi and as the laceweight is 31wpi it's the perfect combination to give me what I want

Many types of fabric you'll see produced with rigid heddle looms will be rustic and chunky and I just love creating fine fabric and these looms are so versatile that they do it all. So I used a 12dpi heddle and just threaded up with one end giving me 12epi and as the weft is thicker and also I've beaten closely it's given me 34ppi so completely weft faced - perfect!

Of course, this is all to do with Sett and we have a You Tube episode about sett if it's something that you've not come across before. Take a look here, it's at the 11 minute mark

The 24" loom is just the right size for this project as I want to make sure I can piece the fabric together in as few sections as possible. I'm using a boat shuttle which is making the process run smoothly too. I purchased this one from the Threshing Barn and it's great size - it's the 29cm one and has worked really well.

It's a slow weave as the yarn is so fine but I've really loved getting lost in the weave and an audio book. Will keep you posted as I work through the weave

Spinning a Single Fleece

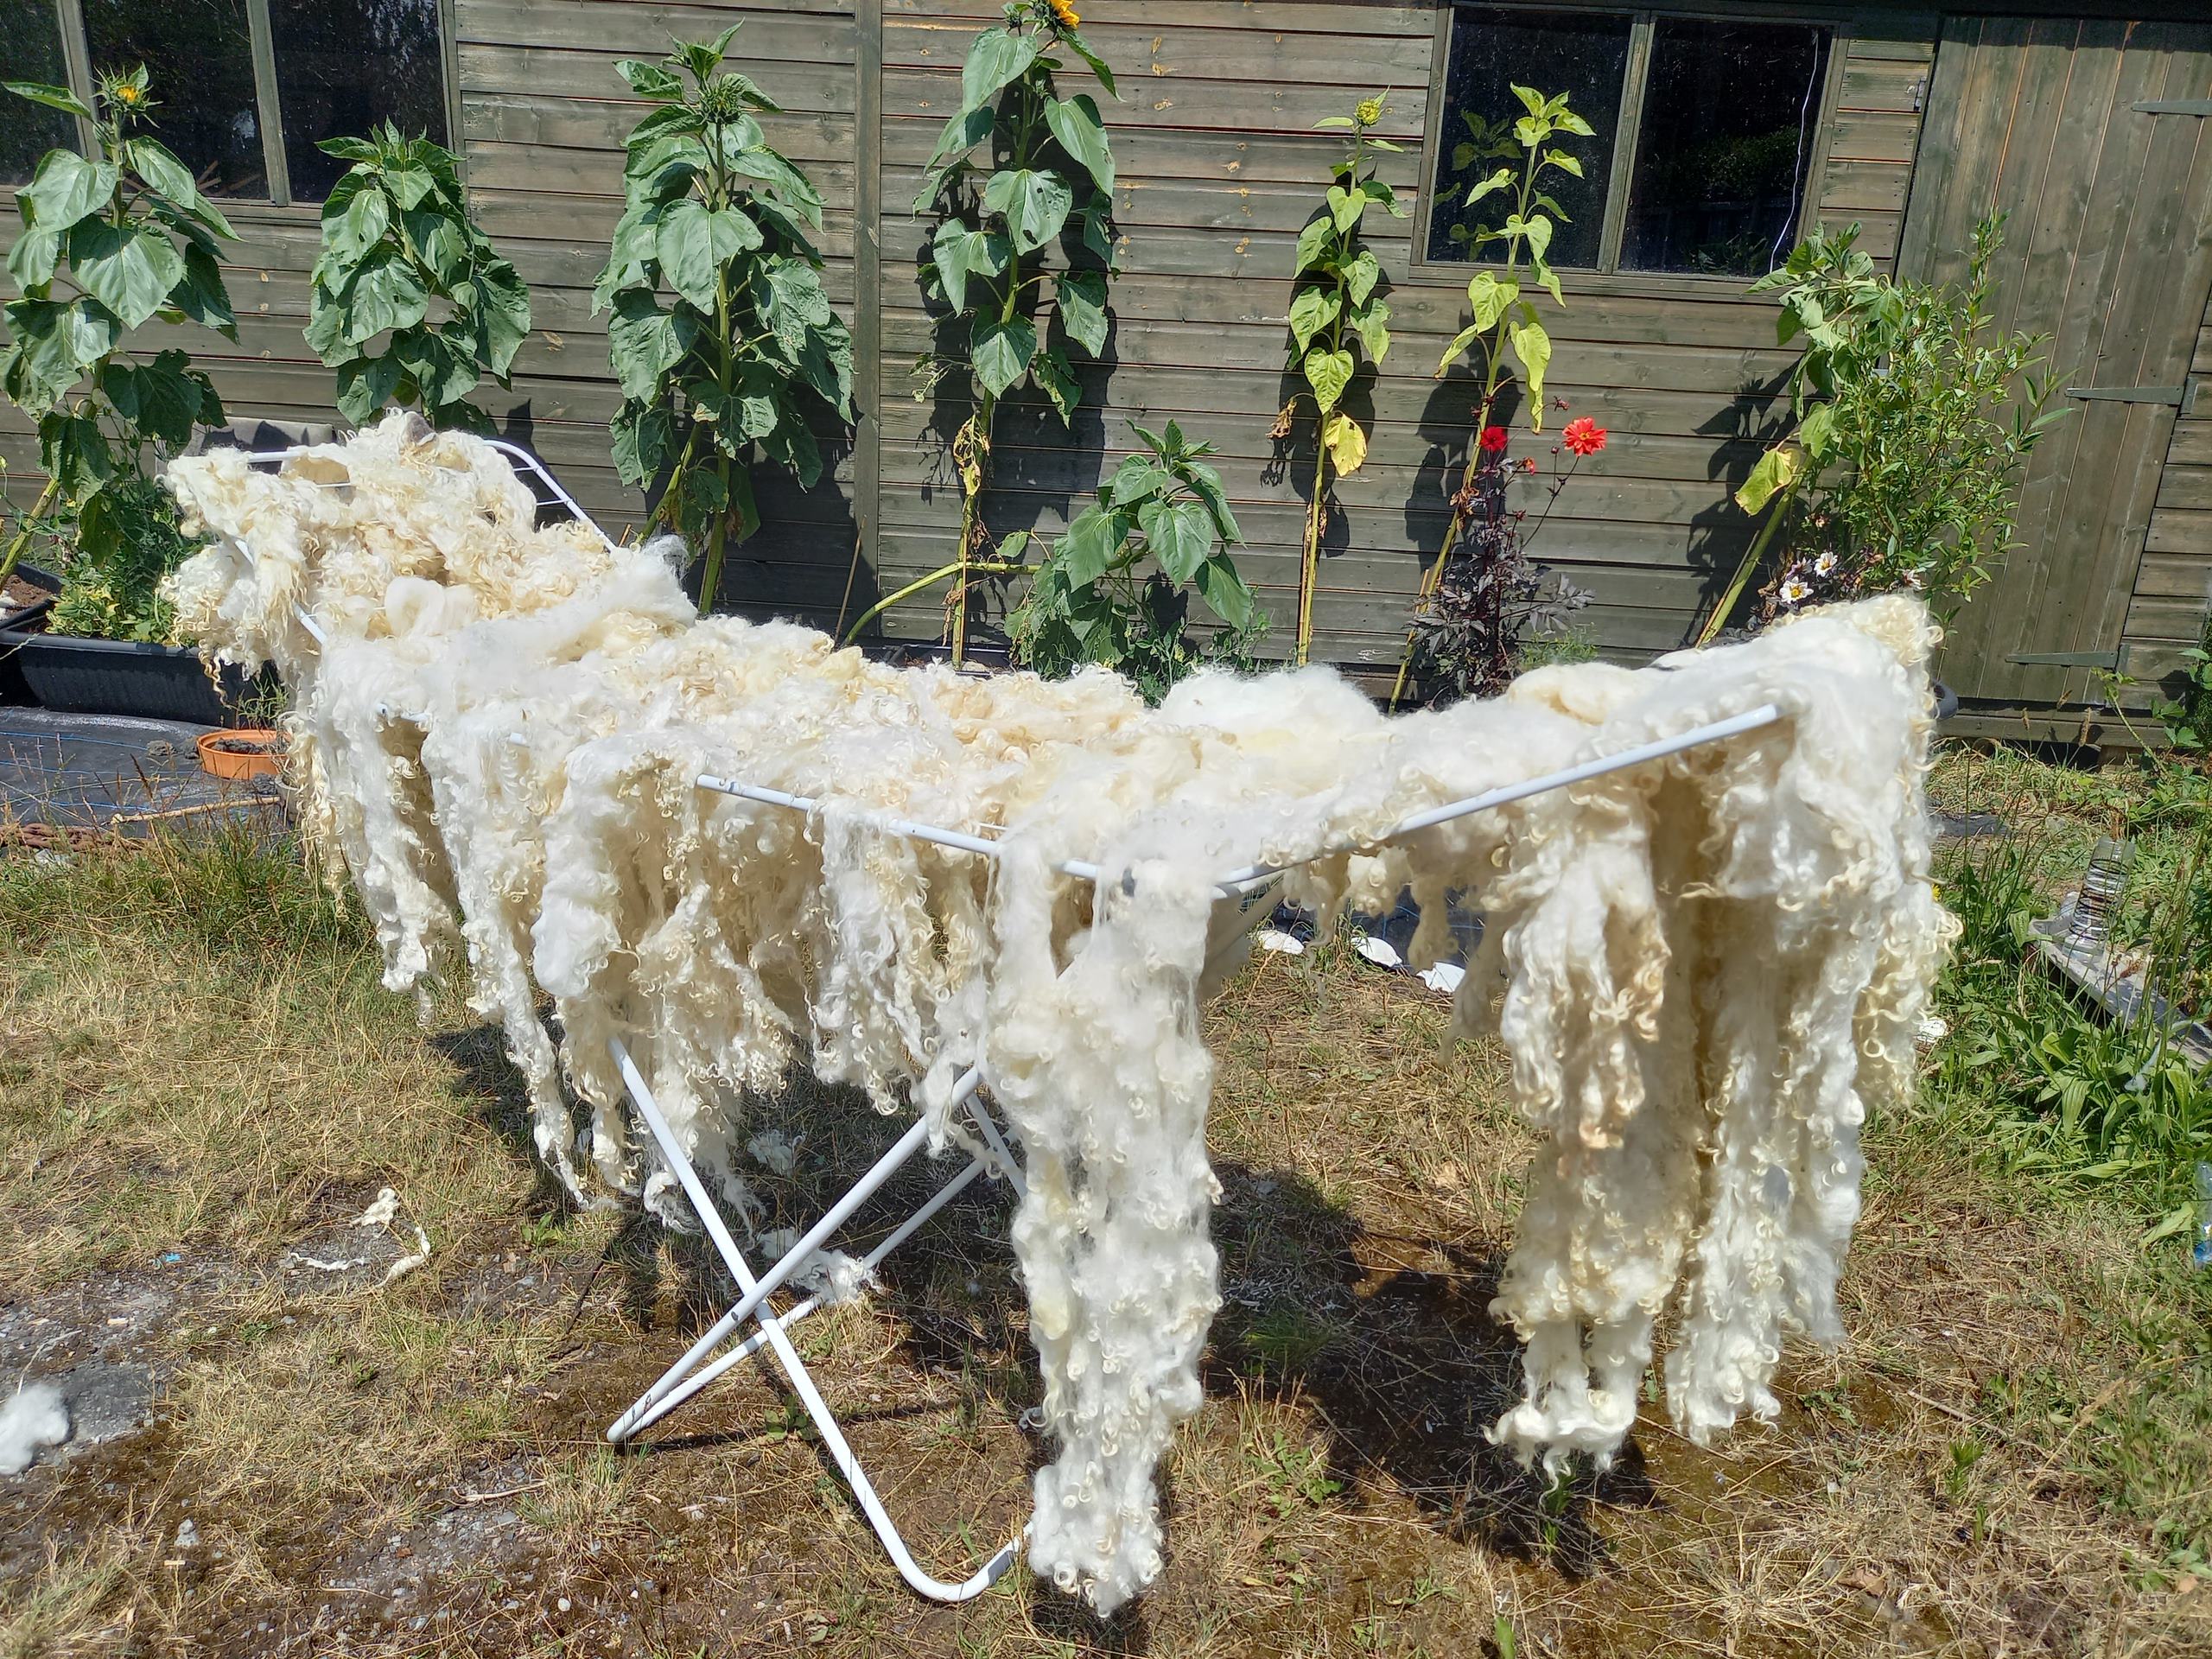
A slap dash guide to Fleece Preparation

Where do I begin? - Just go for it

If there is one thing as a beginner spinner you can be sure of - you ask ten different people how to process a fleece and you will get ten different answers.

It can be very easy to get lost in the amount of options so this post is hoping to inspire you to just have a go. Even if it's just once. You'll learn so much and then you can hone your own process, making tweaks along the way. Remember, people have been doing this for 1000's of years, mostly as far as I'm aware, not many of them died. Here are my thoughts...

Fleece Prep- Where do I start?

  1. Don't get overwhelmed about the process. Sadly for farmers at the moment, fleece are not raising a huge amount of money. What this means is that you will be able to pick up a fleece cheaply. So if you make a pigs ear out of the process, there will be plenty more fleeces for you to hone your skills on. Allow yourself to learn
  2. Just go for it, even if you (as I did the first time) throw a whole fleece in bath and work your way through it not knowing what on earth you're doing, you will still learn a huge amount. I really don't recommend this option but if you did do it, what's the worst that can happen? In my case, water on the floor, down the stairs, in the hall, the dining room....
  3. If you do have the time to separate the different sections of the fleece, then this is a great option. If you buy from a farmer, you'll get what you're given and that will include muck, vm (vegetable matter) poo etc.. It'll be obvious the sections of the fleece that need separating off, the back end you'll want to avoid but also underneath where the fleece will hit grass and mud, those areas can be pulled away from the main body of the fleece and disposed of
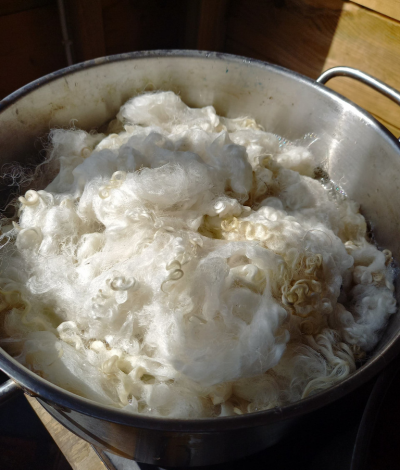
  4. For washing, I fill a pan of water with a squirt of washing up liquid, place my sections of fleece on top and push it down. I then heat up to hand hot and allow it to soak for around 45 minutes to an hour and then let it cool down.
  5. Tip the water out which will be pretty dirty and then you can either wash again (which I rarely do to be honest) on hang out to dry
  1. Then card or comb the fibre. Carding will be the most accessible option, you can get hand carders or even pet carders if you're just giving it a go to see whether you like the process

Obviously fleece prep is a huge rabbit hole and the more you learn, the more effort you'll put in. It's very rewarding to do the process from start to finish, so please just give it a try

If you're in the Liverpool area, we have our monthly meet full of people who love wool, just like you. The would inspire (enable) anyone and so if you feel nervous, come and join us on the first Saturday of the month and there will be someone who can share their experience. Or if you want me to bring my pots and pans and we could wash your fleece together!

Northern Lights, 5 Mann Street, Brewery Village, Liverpool, L8 5AF

Any questions, ask away!

Weaving with fine yarns

Many weavers feel nervous about weaving with fine yarns. Some start using rigid heddle looms as a way to use up their stash of knitting yarns. And what a great way to work with all those colours and textures, especially if you have small balls of yarn that you've been wondering what to do with all this time.

On our Weave a Scarf Workshop we use our own hand dyed sock yarn. It's brilliant in the warp and because of the high twist it's reliable on the day - the last thing you need to be worrying about is dealing with a broken warp thread.

Some people are nervous about using finer threads though, or cottons and this can seem a little daunting but with a few tips it's very attainable.

How can you weave with very fine thread on a rigid heddle?

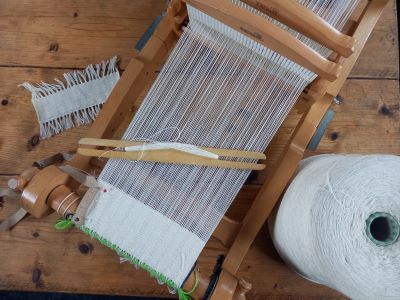
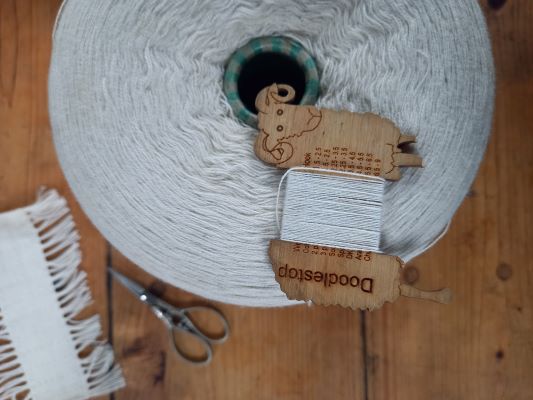
At the moment I'm weaving with very fine white cotton and I absolutely love it. The warp and weft are both in the same yarn, a 47wpi fine cotton which I bought from a man who used to work in the textile trade and sold me 6 large cones a few years ago. If you're interested in weaving with fine cottons but don't want a huge outlay and you're in the North West of England, take a look at Fairfield Yarns in Heywood, Bury. There is a huge selection and David has extensive knowledge which he is very happy to share.

At first I had really no idea how to work with it on the rigid heddle but using two heddles has opened up so many more options. So for instance our sock yarn is 19wpi (wraps per inch, the amount of time the yarn wraps around an inch). To decide which heddle to use, you half that amount, so on our workshops we use a 10dpi heddle for our sock yarn. This measurement is called sett.

Which heddle would I use?

So where does that leave us with a yarn that is 47wpi on a rigid heddle? The finest heddle size Kromski sell is 12dpi. The answer is to use two heddles which doubles the sett. So if I halve my 47wpi I get 23.5wpi and if I use two 10dpi heddles I get a sett of 20, if I use two 12dpi I get a sett of 24. So either of those options are useable in this case, one will be a slightly looser weave than the other. You can also double up your threads if you only have one heddle, two threads in the slot and two in the hole. This will achieve the same sett with a slightly different look

I've chosen to weave diamond twill pattern on this fabric. When using cotton it's important that the tension is as equal across the warp as you can get it. It doesn't have to be overly tight but consistency is extremely important in the woven piece. I've found tying on in the neutral position but then also tightening in the up position can also help.

Also, when tying on, make sure the string that holds the apron rod is even, the last thing you need is for it to go wonky as it goes over the front beam.

One last point, if you can do a sample piece, please do! There is nothing more disheartening than spending a long time warping up only to struggle with the weaving or having to cut the warp off the loom. It's really worth taking the time to sample and record your findings.

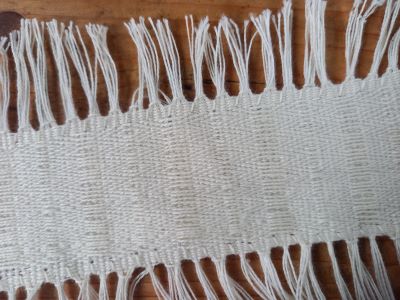
The diamond twill here is very subtle as it's white on white but the effect with a darker warp is more pronounced. Solid colours will work better than variegated too.

Diamond Twill woven on Kromski rigid heddle loom

Want to understand a bit more?

If you're bamboozled by these terms then why not join us for our Double Heddle Workshop where you will learn what sett is, how to work with these calculations, weave Diamond Twill and double width cloth.

Click here for the upcoming workshop dates
0